Overview
Azure Artifacts is an extension that makes it easy to discover, install, and publish NuGet, npm, and Maven packages in Azure DevOps. It’s deeply integrated with other hubs like Build so that package management can become a seamless part of your existing workflows.
Prerequisites
-
Visual Studio 2017 or later
-
This lab requires you to complete tasks 1 and 2 from the prerequisite instructions
Exercise 1: Working with Azure Artifacts
Azure Artifacts is an extension to Azure DevOps Services and Azure DevOps Server. It comes pre-installed in Azure DevOps Services, Azure DevOps Server 2019, Team Foundation Server (TFS) 2017 and 2018.
Task 1: Creating and connecting to a feed
-
Navigate to the Artifacts hub.
-
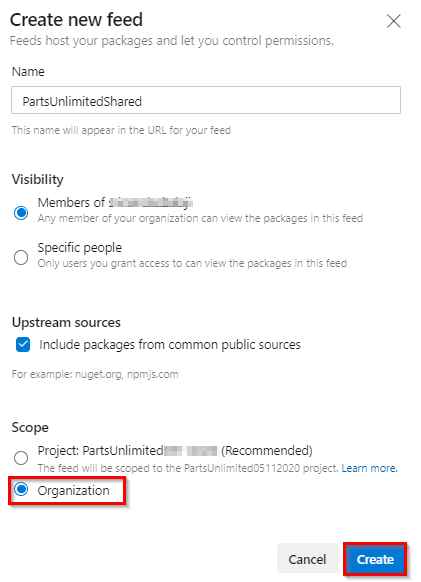
Click Create feed. This feed will be a collection of NuGet packages available to users within the organization and will sit alongside the public NuGet feed as a peer. The scenario in this lab will focus on the workflow for using Azure Artifacts, so the actual architectural and development decisions are purely illustrative.

-
This feed will include common functionality that can be shared across projects in this organization. Select the scope as Organization for this lab. Set the name to “PartsUnlimitedShared” and click Create. Leave the default options.
-
Any user who wants to connect to this NuGet feed must configure their environment. Click Connect to feed.

-
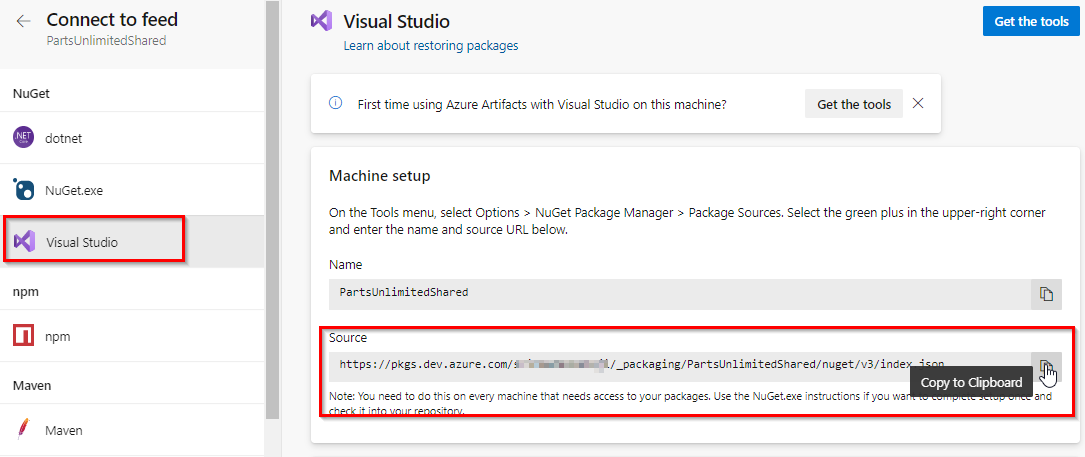
In the Connect to feed window, select Visual Studio and copy the Source url . This is the only thing Visual Studio and NuGet need to start taking advantage of the new feed. Leave the dialog open in the browser.
-
Launch a new instance of Visual Studio. Do not use the instance open from cloning the primary Parts Unlimited solution.
-
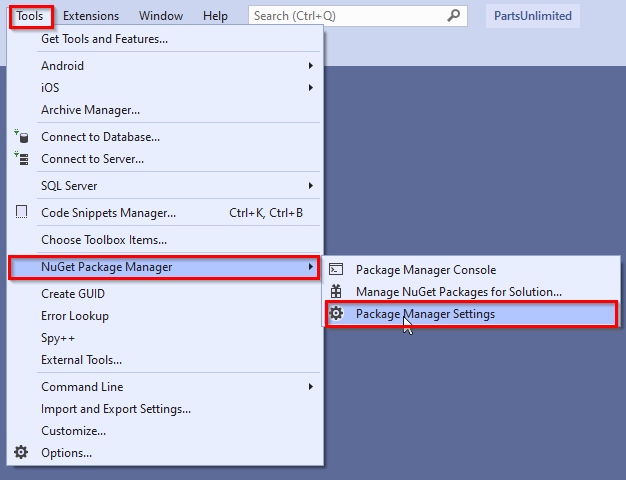
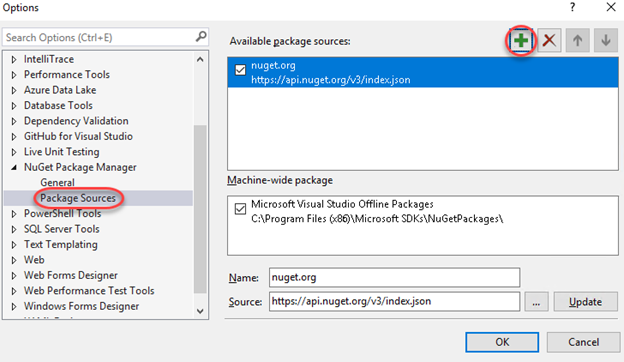
Select Tools | NuGet Package Manager | Package Manager Settings.
-
Locate the Package Sources section and click the Add button to add a new package source.
-
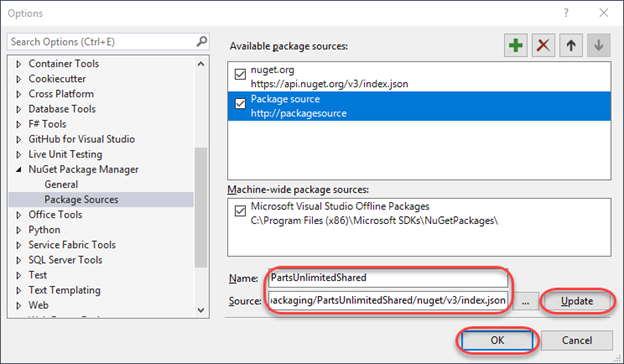
Set the Name to “PartsUnlimitedShared” and paste the Source URL copied earlier. Click Update followed by OK. Visual Studio is now connected to the new feed.
-
Close and Reopen the other Visual Studio instance used for cloning the PartsUnlimited repository ( prerequisites Task 2), so that it shows this new source.
Task 2: Creating and publishing a NuGet package
-
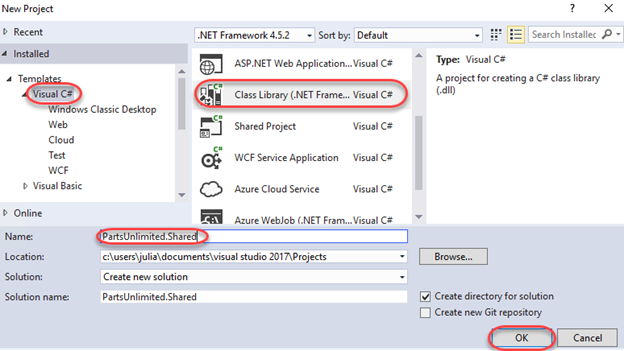
From the main menu of Visual Studio, select File | New | Project (“Create a new project” in VS2019). We will now create a shared assembly that will be published as a NuGet package so that other teams can integrate it and stay up to date without having to work directly with the project source.
-
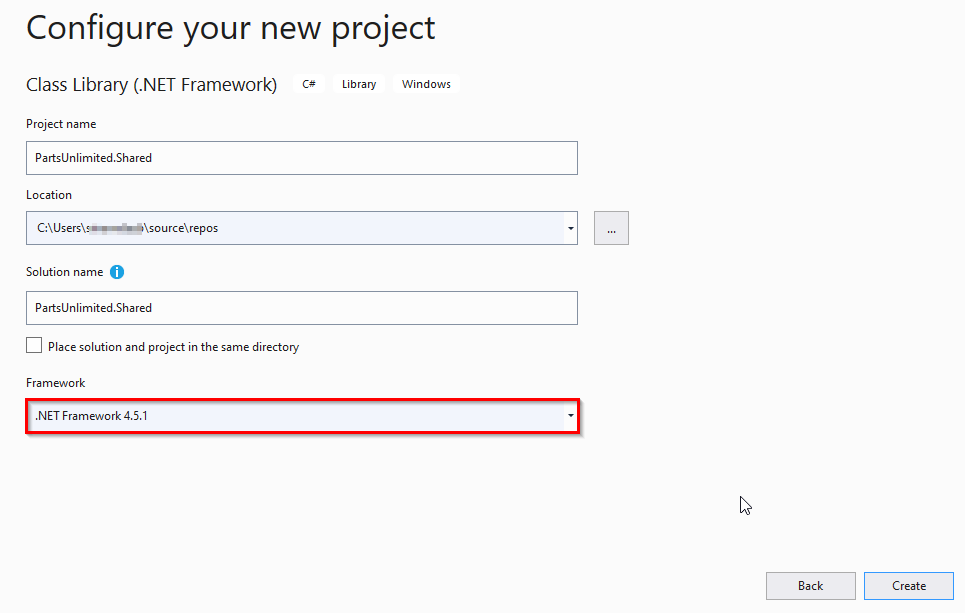
From the Visual C# section, select the Class Library (.NET Framework) template and set the Name to “PartsUnlimited.Shared”. Click OK to create the project. (If VS2019 used, look for “class” in the finder and select Class Library (.NET Framework) and choose version 4.5.1)
VS2017
VS2019

-
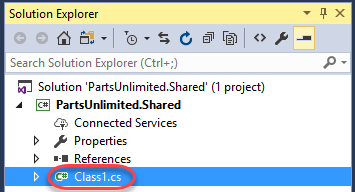
In Solution Explorer, delete Class1.cs.
-
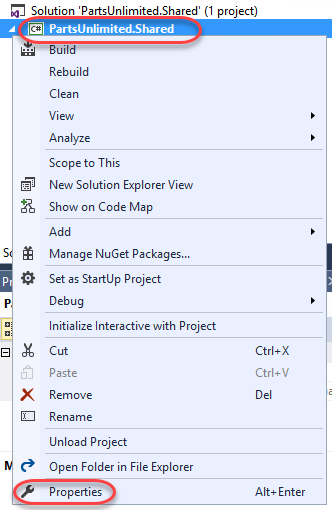
Right-click the project node and select Properties.
-
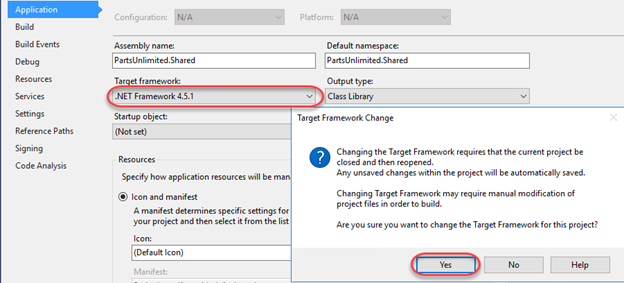
Set the Target framework to .NET Framework 4.5.1 and click Yes to confirm the change. (Confirm the same if you are using VS2019)
-
Press Ctrl+Shift+B to build the project. In the next task we’ll use NuGet.exe to generate a NuGet package directly from the built project, but it requires the project to be built first.
-
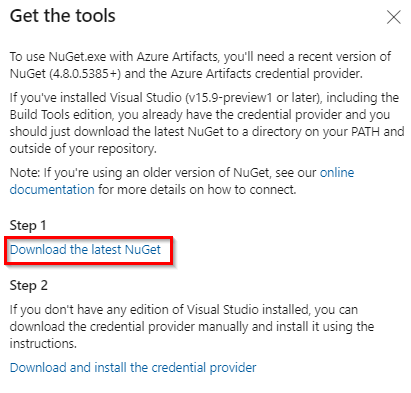
Return to the Azure DevOps browser tab. On the feed created before click Connect to Feed | NuGet.exe | Get the tools.

-
Click on Download the latest Nuget
-
On the opened window, select nuget.exe version v5.5.1
-
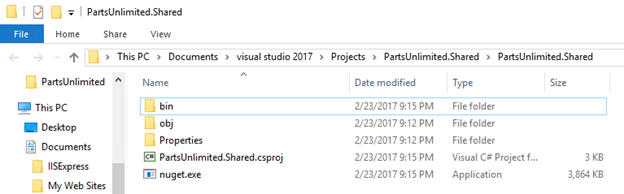
Return to Visual Studio. From Solution Explorer, right-click the PartsUnlimited.Shared project node and select Open Folder in File Explorer.

-
Move the downloaded nuget.exe file into the folder containing the .csproj file.
-
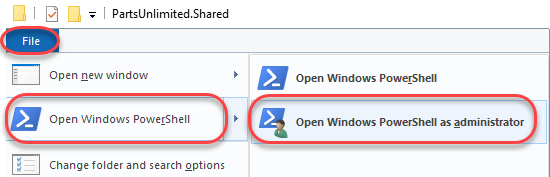
In the same Windows Explorer window, select File | Open Windows PowerShell | Open Windows PowerShell as administrator.
-
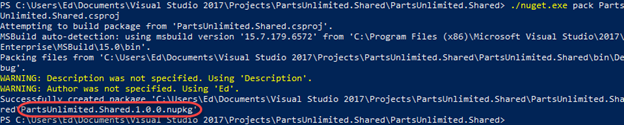
Execute the line below to create a .nupkg file from the project. Note that this is a quick shortcut to package the NuGet bits together for deployment. NuGet is very customizable and offers a lot of great flexibility for providing detailed information for consumers. You can learn more over on the NuGet package creation page.
./nuget.exe pack ./PartsUnlimited.Shared.csproj -
NuGet builds a minimal package based on the information it is able to pull from the project. For example, note that the name is PartsUnlimited.Shared.1.0.0.nupkg. That version number was pulled from the assembly.
-
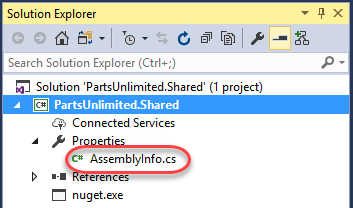
Return to Visual Studio. From Solution Explorer, open Properties\AssemblyInfo.cs.
-
The AssemblyVersion attribute specifies the version number to build into the assembly. Each NuGet release requires a unique version number, so if we continue to use this method for creating packages, we will need to remember to increment this before building.

-
Return to the PowerShell window and execute the following command (it should be on one line). Note that you need to provide an “API Key”, which can be any non-empty string. We’re using “VSTS” here. Log in using your Azure DevOps credentials when asked.
./nuget.exe push -source "PartsUnlimitedShared" -ApiKey VSTS PartsUnlimited.Shared.1.0.0.nupkg -
The command should succeed after a few seconds.

-
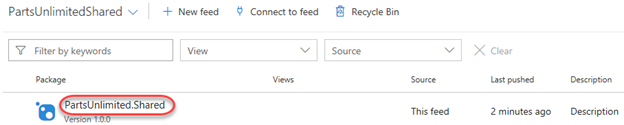
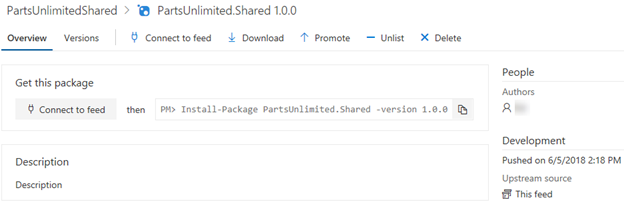
Return to the browser window open to Azure DevOps and refresh the window. You should now see the organization’s NuGet package is published in the feed. Click it to view the details.
-
The details have been imported and are now ready for others to consume.
Task 3: Importing a NuGet package
-
Switch to the instance of Visual Studio that has the full Parts Unlimited solution open.
-
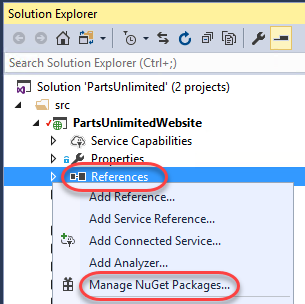
In Solution Explorer, right-click the References node under the PartsUnlimitedWebsite project and select Manage NuGet Packages.

-
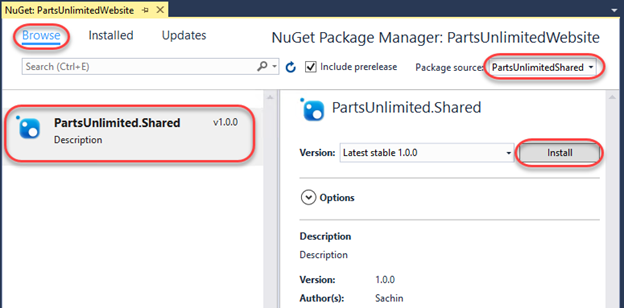
Click the Browse tab and change the Package source to PartsUnlimitedShared. The only package will be the one we just added, so click Install to add it to the project.
-
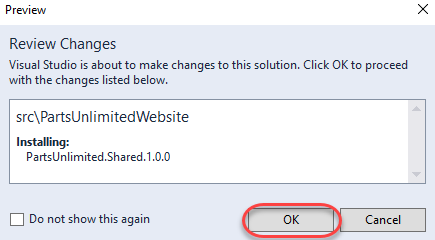
If asked, confirm the addition by clicking OK.
-
Press Ctrl+Shift+B to build the project. It should succeed. The NuGet package doesn’t add any value yet, but at least we know it’s there.
Task 4: Updating a NuGet package
-
Switch to the instance of Visual Studio that has the PartsUnlimited.Shared project open (the NuGet source project).
-
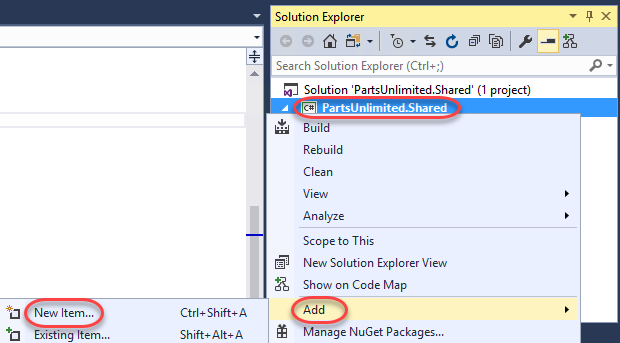
In Solution Explorer, right-click the PartsUnlimited.Shared project node and select Add | New Item.
-
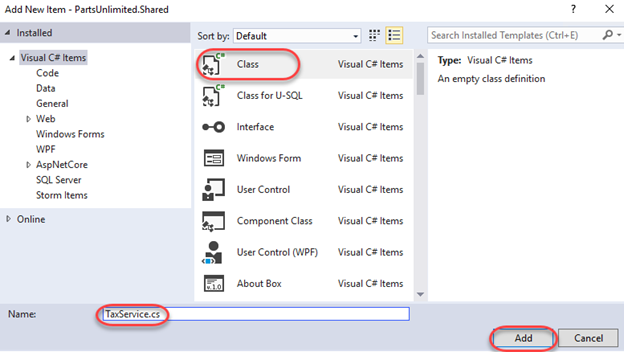
Select the Class template and enter the Name “TaxService.cs”. Click Add to add the class. We can pretend that tax calculation will be consolidated into this shared class and managed centrally so that other teams can simply work with the NuGet package.
-
Replace the code in the new file with the code below. For now it will just hardcode a 10% rate.
namespace PartsUnlimited.Shared { public class TaxService { static public decimal CalculateTax(decimal taxable, string postalCode) { return taxable * (decimal).1; } } } -
Since we’re updating the assembly (and package), return to AssemblyInfo.cs and update the AssemblyVersion to 1.1.0.0.

-
Press Ctrl+Shift+B to build the project.
-
Return to the PowerShell window and execute the following line to repackage the NuGet package. Note that the new package will have the updated version number.
./nuget.exe pack PartsUnlimited.Shared.csproj -
Execute the following line to publish the updated package. Note that the version number has changed to reflect the new package.
./nuget.exe push -source "PartsUnlimitedShared" -ApiKey VSTS PartsUnlimited.Shared.1.1.0.nupkg -
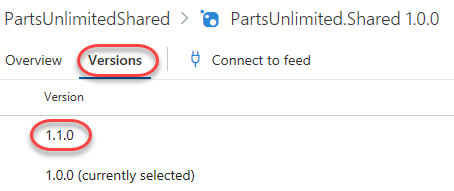
Return to the browser window open to Azure DevOps and refresh the page. You will still be looking at the 1.0.0 version of the package, but you can change that by selecting the Versions tab and selecting 1.1.0.
-
Switch back to the instance of Visual Studio open to the main PartsUnlimited project (with PartsUnlimitedWebsite).
-
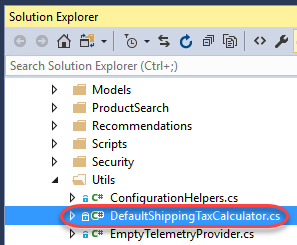
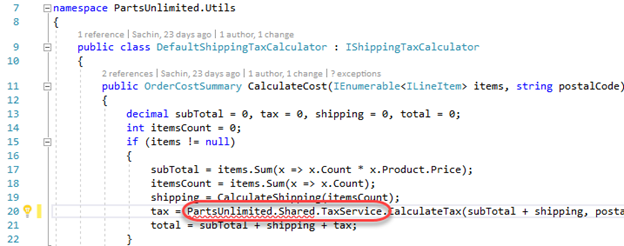
From Solution Explorer, open PartsUnlimitedWebsite\Utils\DefaultShippingTaxCalculator.cs.
-
Locate the call to CalculateTax around line 20 and add the qualifier “PartsUnlimited.Shared.TaxService.” to the beginning. The original code called a method internal to this class, so the code we’re adding to the beginning of the line is redirecting it to code from our NuGet assembly. However, since this project hasn’t updated the NuGet package yet, it’s still referencing 1.0.0.0 and doesn’t have these new changes available, so the code will not build.
-
In Solution Explorer, right-click the References node and select Manage NuGet Packages.
-
NuGet is aware of our update, so click the Updates tab to view the details. Click Update to bring down the new version. If the Updates tab hasn’t yet updated, you can still update the package from the Browse tab. Note that there may be many NuGet updates available, but you should only need to update PartsUnlimited.Shared. Note that it may take a little while for the package to become completely available for updating. If you get an error, wait a moment and try again.

-
If asked, click OK to approve the update.
-
Press F5 to build and run the site. It should work as expected.