Overview
Many teams prefer to define their build and release pipelines using YAML (YAML Ain’t Markup Language). This allows them to access the same pipeline features as those using the visual designer, but with a markup file that can be managed like any other source file. YAML build definitions can be added to a project by simply adding their source file to the root of the repository. Azure DevOps also provides default templates for popular project types, as well as a YAML designer to simplify the process of defining build and release tasks.
Prerequisites
- This lab requires you to complete task 1 from the prerequisite instructions.
The following image will walk you through all the steps explained in this lab
Exercise 1: Configuring CI/CD Pipelines as Code with YAML in Azure DevOps
Task 1: Creating Azure resources
-
This lab requires a deployment of the Parts Unlimited project out to an Azure app service. To do this, you will need to spin up the necessary infrastructure. Log in to your Azure account at https://portal.azure.com.
-
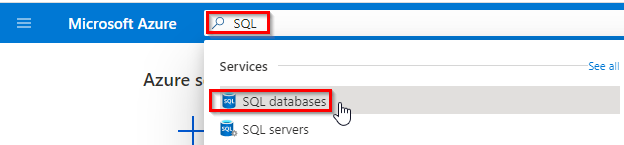
In the home page search for “SQL” and select SQL Databases
-
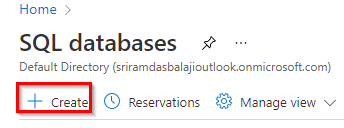
Click on Create in SQL data bases page
-
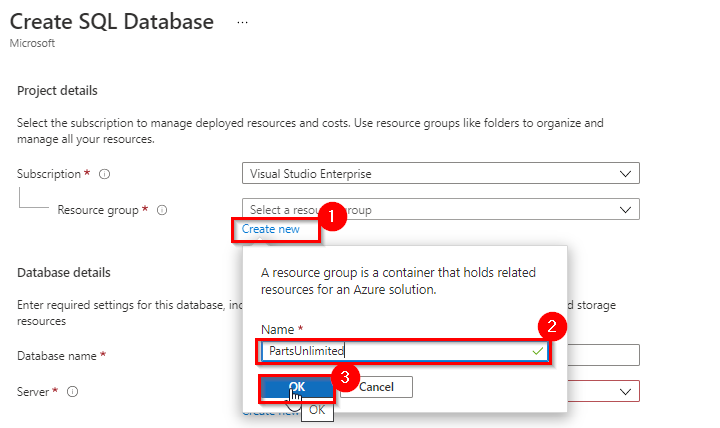
Under Resource group, click Create new. Enter a Name of “partsunlimited” and click OK.
-
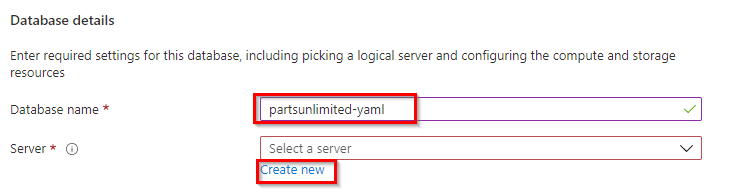
In Database details Enter a Database name of “partsunlimited-yaml” and click Create new to create a new SQL server.
-
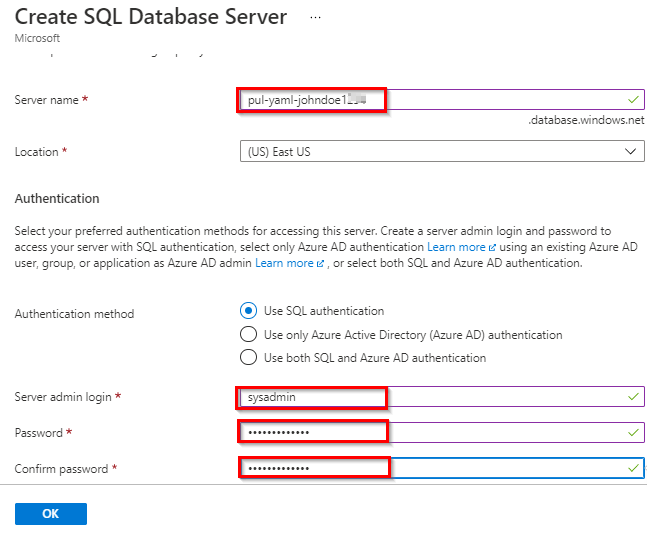
Enter a globally unique server name, such as “pul-yaml-johndoe” and provide admin credentials, then click OK.
-
In Database details under Compute + storage, click on Configure database. Then select Basic Service tier and click Apply


-
In Create SQL database page, click Review + create. Then click Create. It’ll take some time to complete, but you can move on to the next step while it works in the background.

-
In the home page search for App Services and select App Services

-
Click Create in App Services page

-
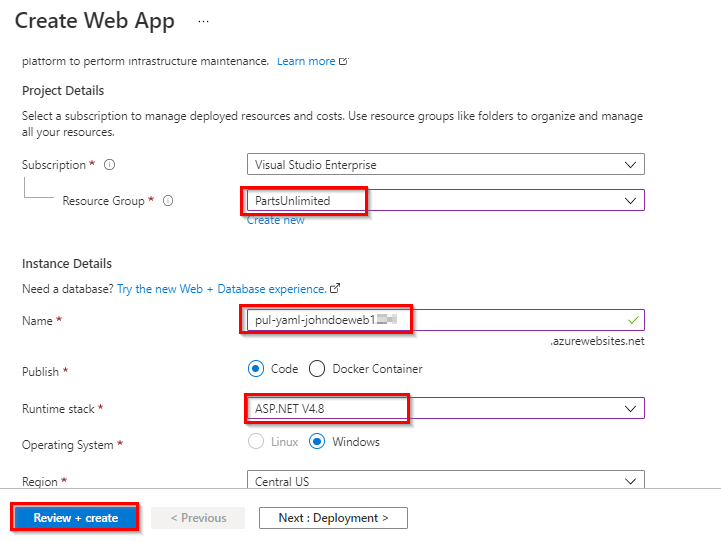
Under Project Details, select the same Subscription and Resource Group used for the database. For Name, enter a unique name, such as by using your name as part. Select the ASP.NET 4.8 Runtime stack. Click Review + Create and then Create
Task 2: Configuring the Azure App Service
-
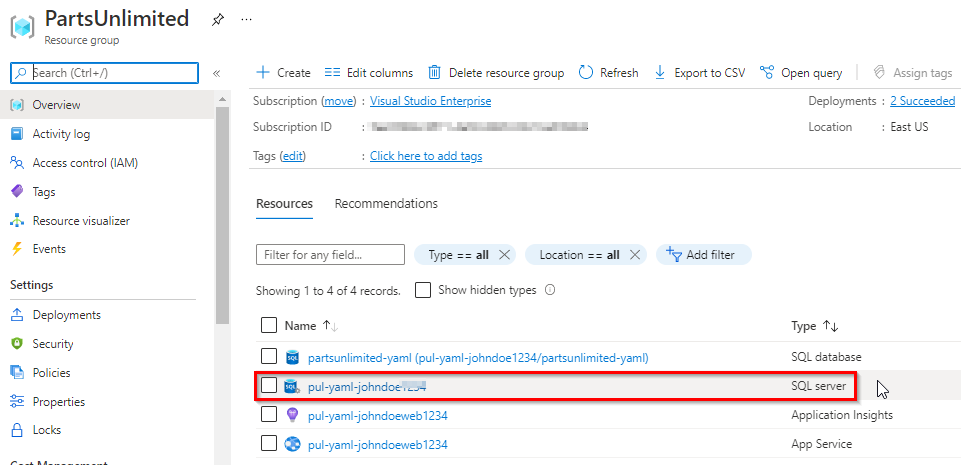
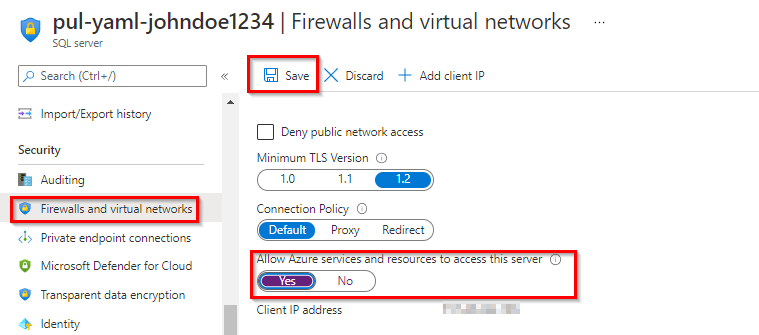
Navigate to the PartsUnlimited resource group created in previous task and select SQL server created
-
In Security select Firewalls and virtual networks. Set Allow Azure services and resources to access this server flag to Yes and click Save
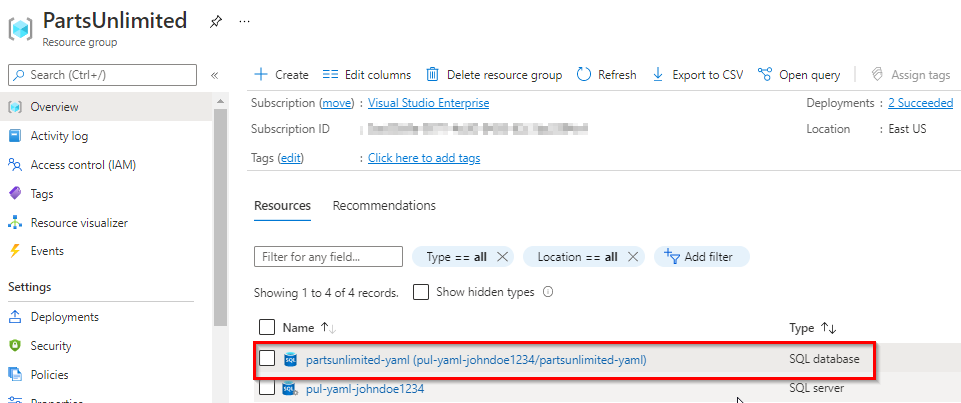
- Now select Database created from the resource group
-
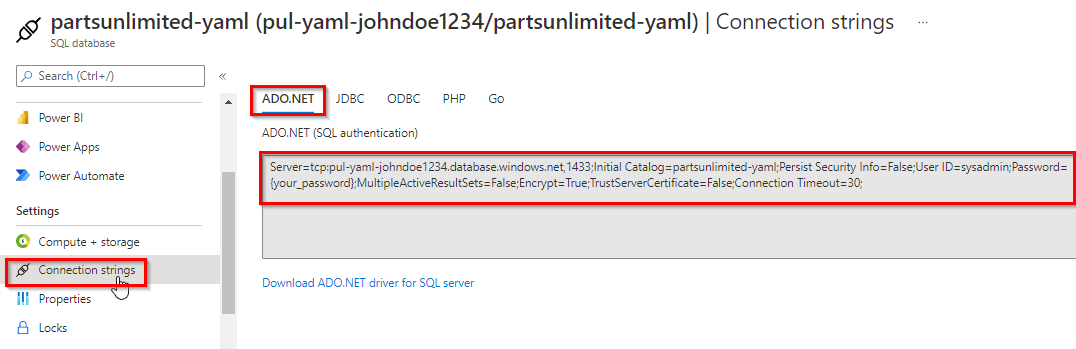
Select Connection strings and Copy the ADO.NET string to your clipboard and Notepad so that you can configure your new web site to use it. Close this blade.
-
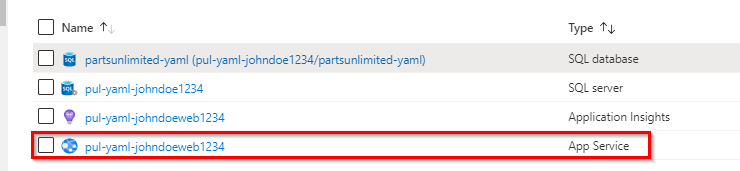
Select app service created earlier.
-
Select the Configuration tab from the Settings section. Click New connection string
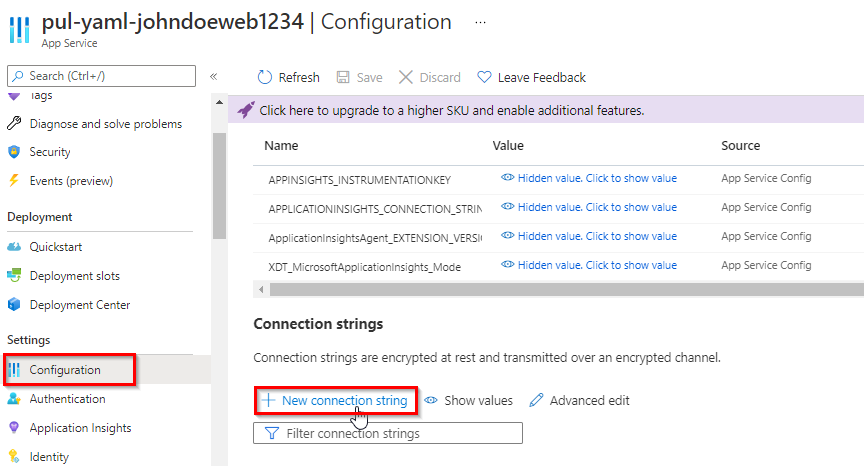
-
Add name as “DefaultConnectionString” and paste the ADO.Net connection string value copied. You’ll need to locate the “{your_username}” and “{your_password}” sections and replace them (including braces) with the actual SQL credentials entered earlier. Be sure the Type is set to SQLAzure and click OK.
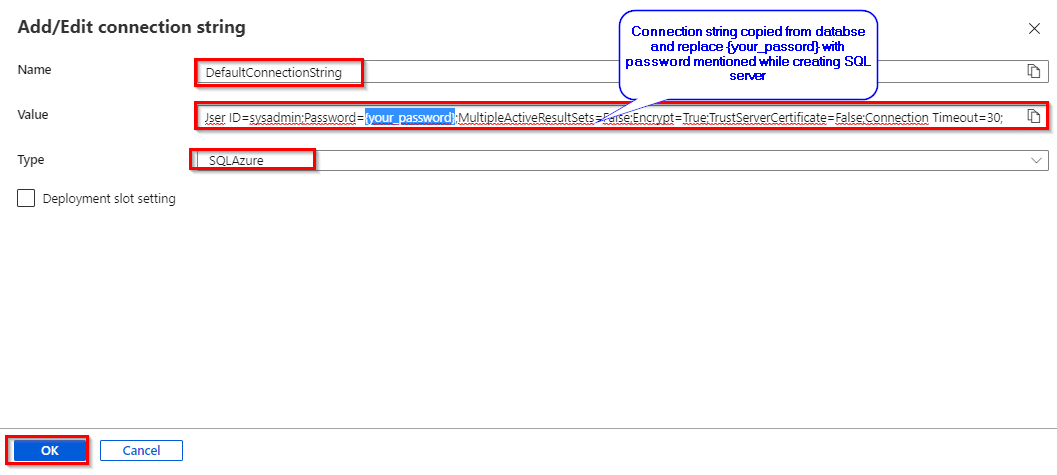
- Click Save to commit.
Task 3: Configuring the Parts Unlimited project
-
Navigate to your team project on Azure DevOps in a new browser tab. Before digging into the YAML pipelines, you will want to disable the existing build pipeline.
-
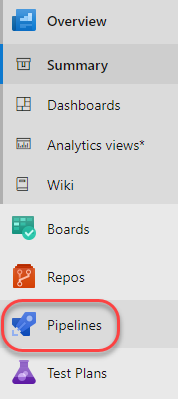
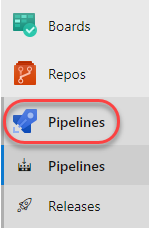
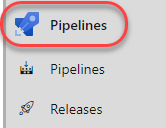
Navigate to Pipelines.
-
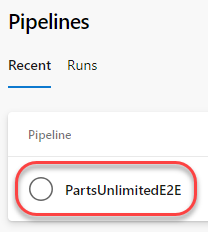
Select the existing PartsUnlimitedE2E pipeline.
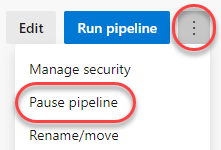
-
From the dropdown, select Pause pipeline.
Task 4: Adding a YAML build definition
-
Navigate to the Pipelines hub.
-
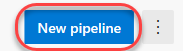
Click New pipeline. We will use the wizard to automatically create the YAML definition based on our project.
-
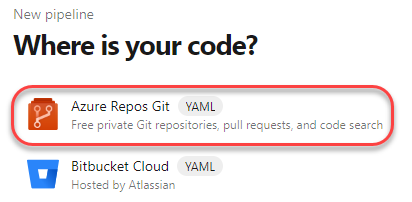
Select the Azure Repos Git as the source hosting platform. Note the others supported.
-
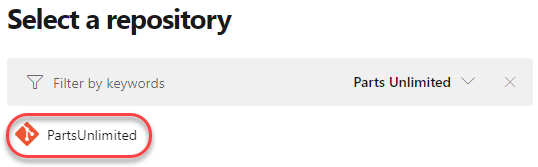
Select the PartsUnlimited repo.
-
Select the ASP.NET template as the starting point for your pipeline.

-
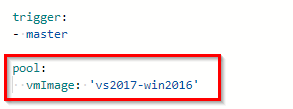
Review the contents of the YAML definition. It will be saved as a new file called “azure-pipelines.yml” in the root of the repository and contain everything needed to build and test a typical ASP.NET solution. You can also customize the build as needed. In this case, update the pool to specify the build should use a Visual Studio 2017 build VM.
-
Review trigger and point to master if you repo does not have main (new repos will have “main” instead of “master”).
-
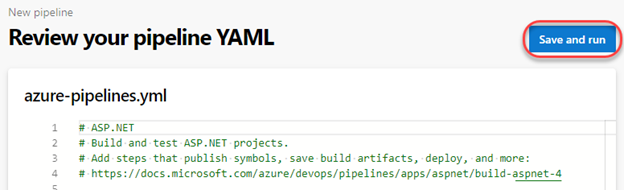
Click Save and run.
-
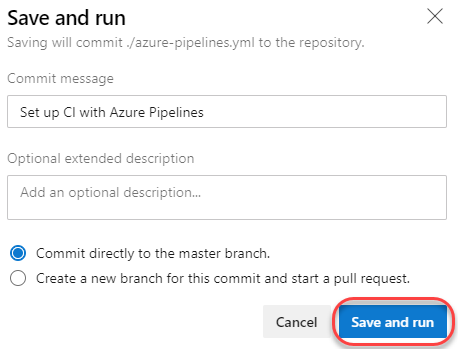
Click Save and run to confirm the commit.
-
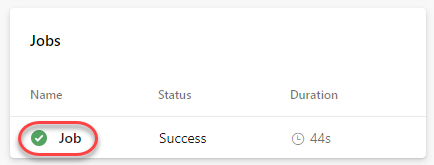
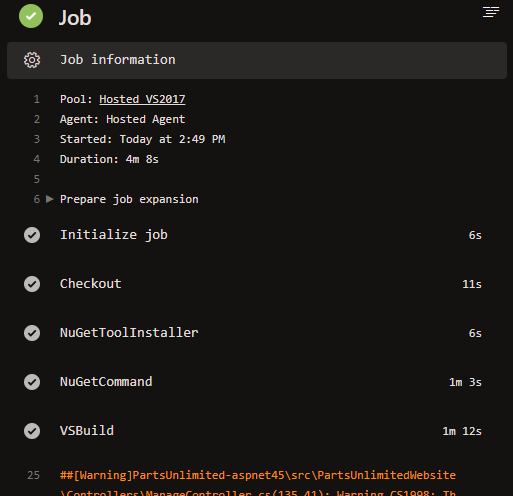
Track the build until it completes. Click Job to see the logs.
-
Each task from the YAML file is available for review, including any warnings and errors.
-
Close the tasks view.
-
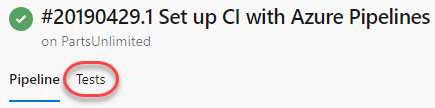
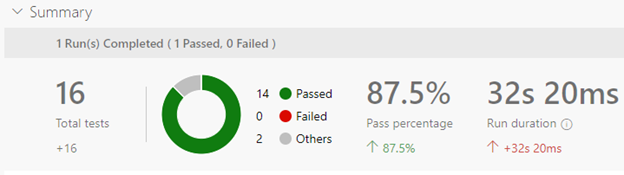
Select the Tests tab.
-
The tests should now succeed as expected.
Task 5: Adding continuous delivery to the YAML definition
-
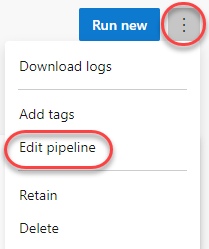
Now that the build and test processes are successful, we can now add delivery to the YAML definition. From the options dropdown, select Edit pipeline.
-
Add the configuration lines below after the trigger section to define a Build stage in the YAML pipeline. You can define whatever stages you need to better organize and track pipeline progress.
 stages:
 - stage: Build
   jobs:
   - job: Build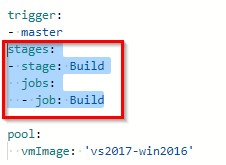
-
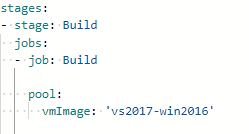
Highlight(select) the remainder of the YAML file and indent it four spaces (two tabs). Everything after “pool” (included) should fall under “job: Build”. This will simply take the existing build definition and relocate it as a child of the jobs node.
-
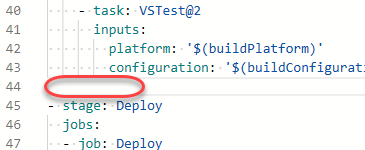
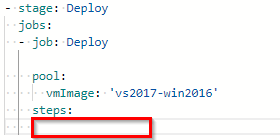
At the bottom of the file, add the configuration below to define a second stage.
 - stage: Deploy
   jobs:
   - job: Deploy
     pool:
       vmImage: 'vs2017-win2016'
     steps: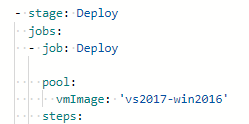
-
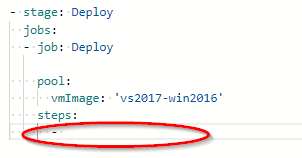
Set the cursor on a new line at the end of the YAML definition. This will be the location where new tasks are added.
-
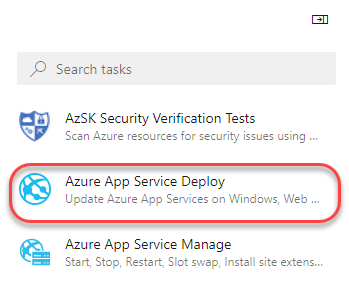
Select the Azure App Service Deploy task.
-
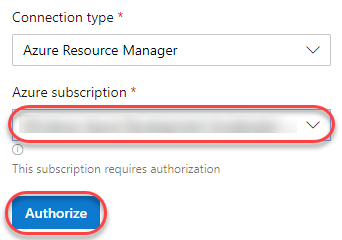
Select the Azure subscription where you created the app service earlier. Click Authorize and follow the path to complete authorization.
-
Enter the App Service name you used to create the app service earlier. Update the Package or folder to ”$(System.ArtifactsDirectory)/drop/*.zip”. Not $(System.DefaultWorkingDirectory)! . Click Add.

-
The YAML that defines the task will be added to the cursor location in the file.

-
With the added task still selected in the editor, indent it four spaces (two tabs) so that it is a child of the steps task.
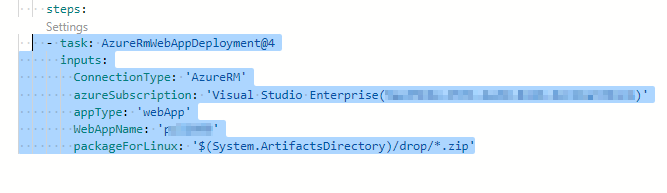
Note: The packageForLinux parameter is a bit misleading in the example but is valid for Windows or Linux. It’s an alias of Package, so it could be shortened to that
-
It’s important to note that these two stages will be run independently. As a result, the build output from the first stage will not be available to the second stage without special consideration. For this, we will use one task to publish the build output at the end of the build stage and another to download it in the beginning of the deploy stage. Place the cursor on a blank line at the end of the build stage.
-
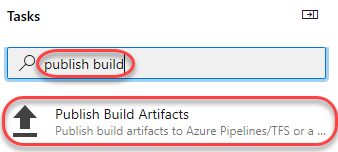
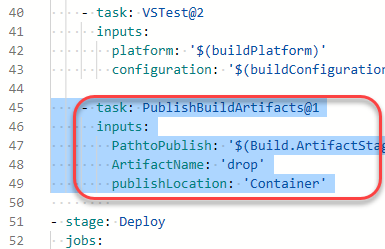
Search the tasks for “publish build” and select the Publish Build Artifacts task. There may be more than one available, so be sure to select the one that is not deprecated.
-
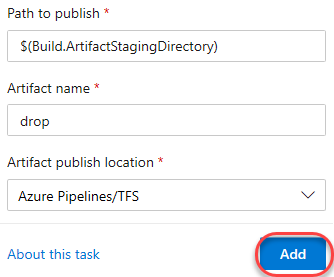
Accept the defaults and click Add. This will publish the build artifacts to a location that will be downloadable under the alias drop.
-
Indent the publish task four spaces (two tabs). You may also want to add an empty line before and after to make it easier to read.
-
Place the cursor on the first line under the steps node of the deployment stage.
-
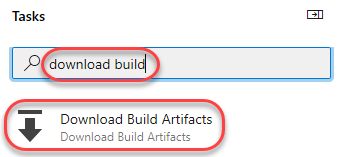
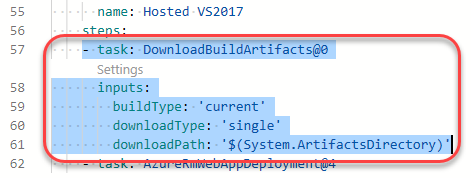
Search the tasks for “download build” and select the Download Build Artifacts task.
-
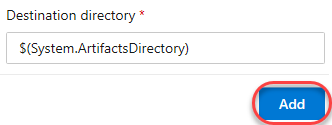
Click Add.
-
Indent the publish task four spaces (two tabs). You may also want to add an empty line before and after to make it easier to read.
-
Add a property to the download task specifying the artifactName of “drop”. Be sure to match the spacing.
artifactName: 'drop'
-
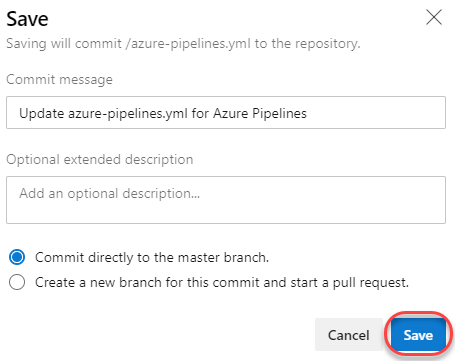
Click Save to commit the changes.

-
Confirm the Save. This will begin a new build.
-
Return to the Pipelines view.
-
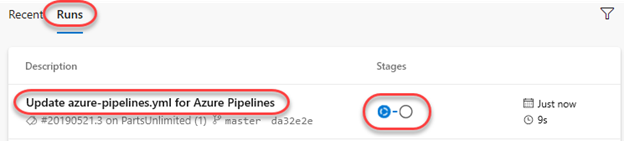
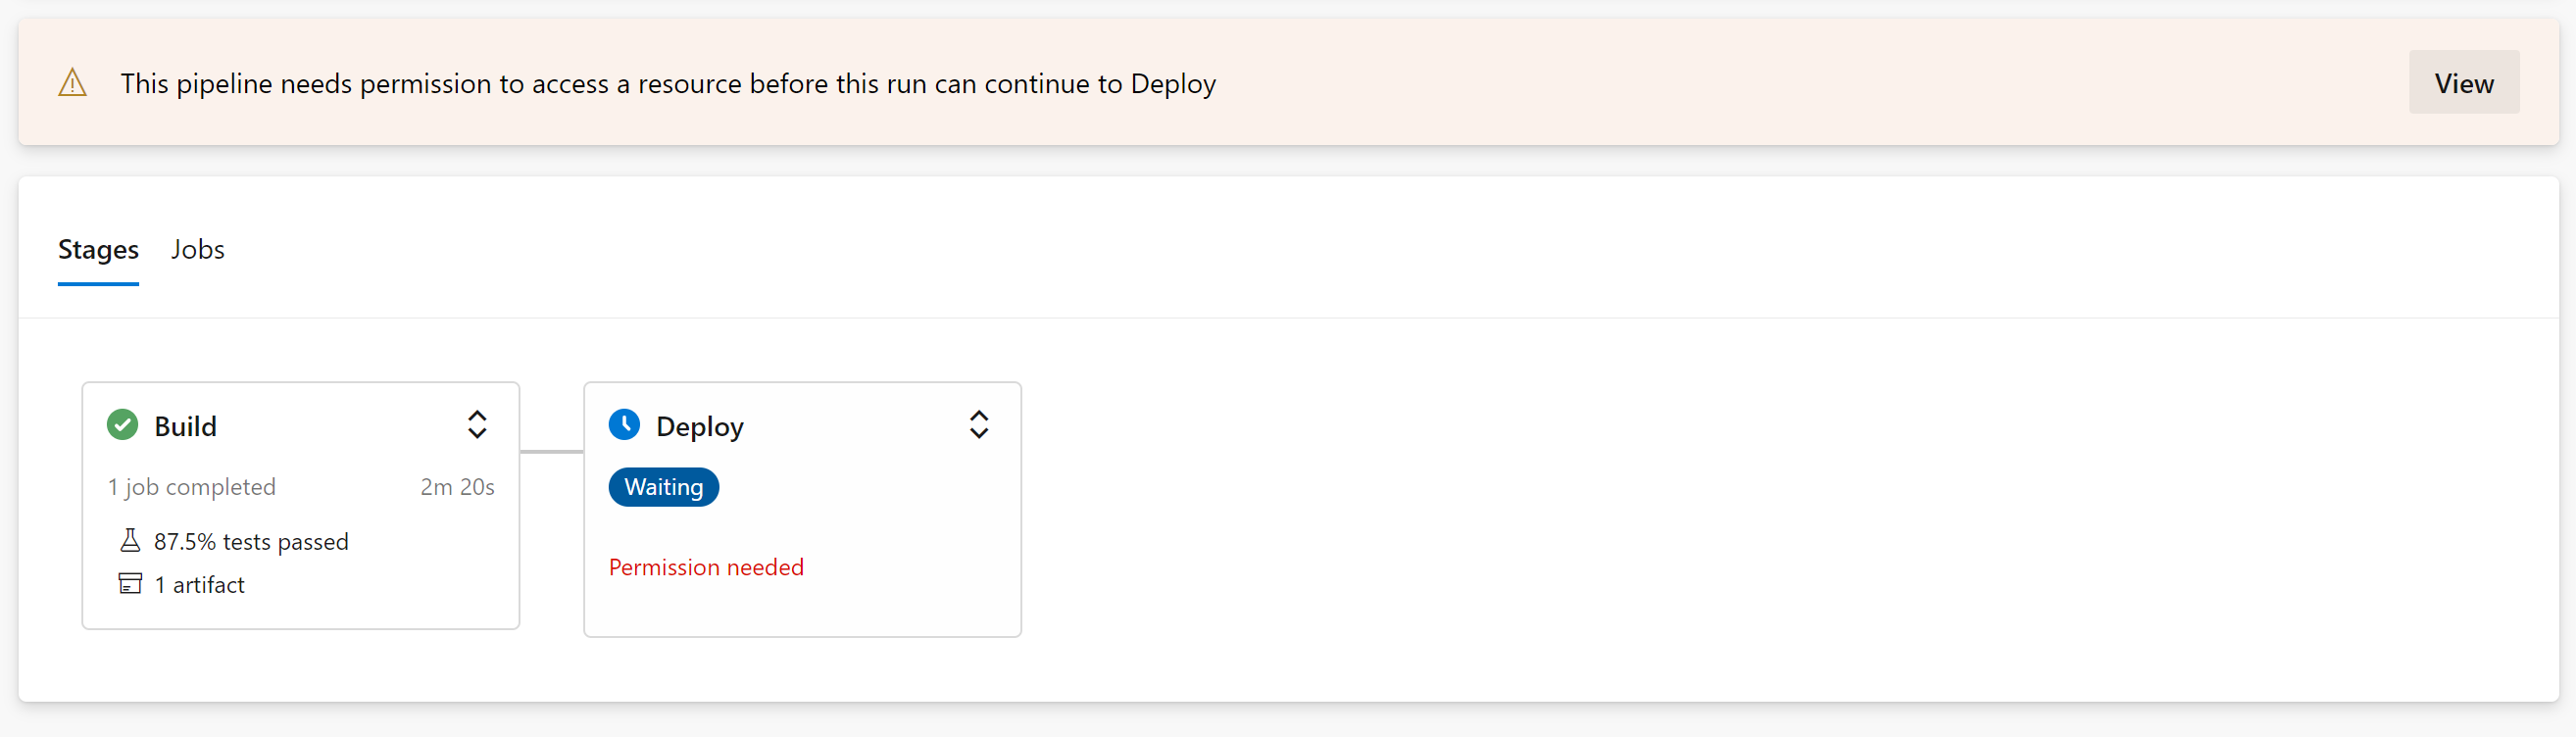
From the Runs tab, click the new build run to open it. Note that there are now multiple stages shown based on the YAML definition edits from earlier.
-
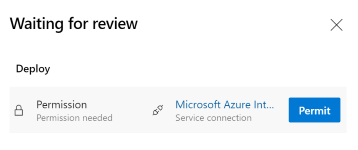
If you see an error message requiring you need permission , click the view button to do so. Then click Permit twice.
-
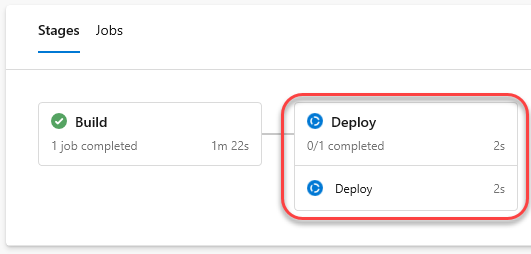
Click the Deploy stage to follow each task.
-
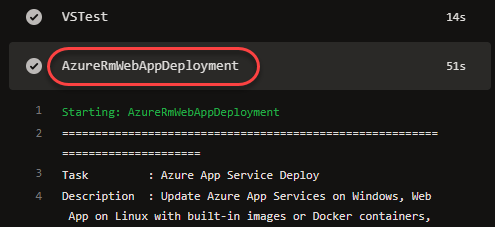
Expand the AzureRmWebAppDeployment task to review the steps performed during the Azure deployment. Once the task completes, your app will be live on Azure.
Task 6: Reviewing the deployed site
-
Return to the Azure portal browser tab.
-
Navigate to the app service created earlier.
-
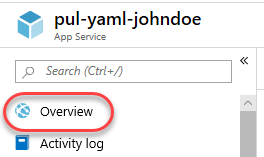
Go to the Overview tab.
-
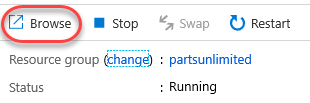
Click Browse to open your site in a new tab.
-
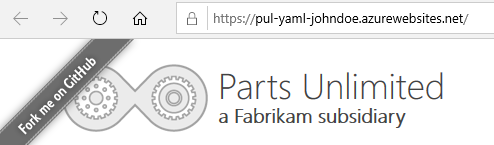
The deployed site should load expected.
Reference
You can watch the following video that walks you through all the steps explained in this lab