Overview
Azure Web Apps provides a highly scalable, self-patching web hosting service. This lab walks guides you through the process of deploying a data-driven ASP.NET web app in Azure and connecting it to Azure SQL Database.
Prerequisites
In order to complete this lab you will need the Azure DevOps Server 2019 virtual machine provided by Microsoft. Click the button below to launch the virtual machine on the Microsoft Hands-on-Labs portal.
Alternatively, you can download the virtual machine from here.
You also need an Azure account (Get a $25 monthly Azure credit by joining Visual Studio Dev Essentials).
Exercise 1: Building ASP.NET apps in Azure with SQL Database
Task 1: Building and running the sample app locally
-
Log in as Sachin Raj (VSALM\Sachin). All user passwords are P2ssw0rd.
-
Launch Visual Studio from the taskbar.
-
Open C:\Samples\DotNetAppSqlDb\DotNetAppSqlDb.sln.
-
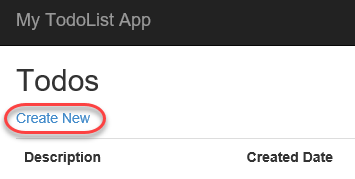
Once the project has finished loading, press F5 to build and run it. The sample is a simple TODO application that stores TODO items in a SQL database specified via the connection string in Web.config.
-
Use the application to add, edit, and delete a TODO item. It should be a straightforward experience. Close the browser when satisfied.
Task 2: Setting up an initial deployment to Azure
-
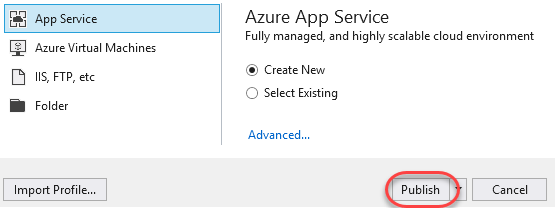
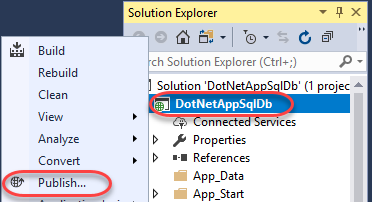
In Solution Explorer, right-click the DotNetAppSqlDb project node and select Publish.

-
Click Publish.
-
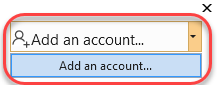
Select Add an account | Add an account and log in using the Microsoft account associated with your Azure subscription.
-
Set App Name to a globally unique name. One way to do this is to append your name after the name of the project.

-
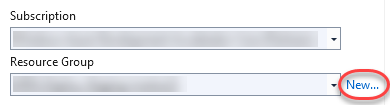
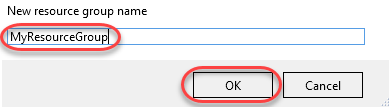
Click New to create a new Resource Group. A resource group is a collection of all resources associated with a deployed solution.
-
Set the New resource group name to MyResourceGroup and click OK.
-
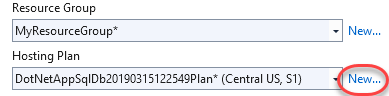
Click New to create a new Hosting Plan. An app service plan defines the location, features, and other properties of your deployment.
-
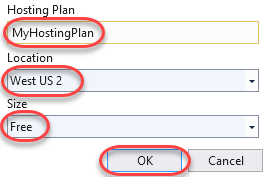
Set the Hosting Plan name to “MyHostingPlan”. Select a Location and Size and click OK.
-
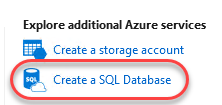
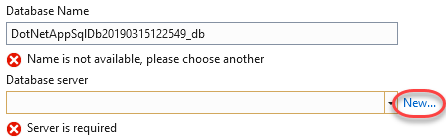
Since this application relies on a SQL database, you will need to configure one for deployment. Click Create a SQL Database.
-
You have the option of using an existing database (if you have one). Alternatively, click New to create one for this lab.
-
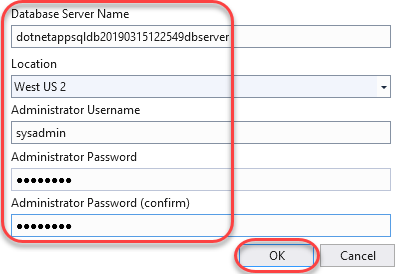
Configure the server with a unique name and administrator credentials. Click OK.
-
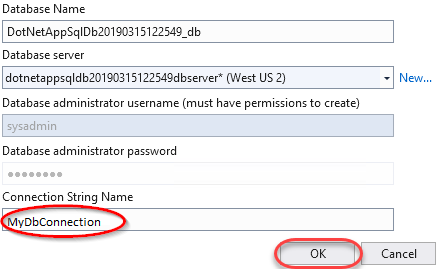
After configuring the server, you will also need to define a database to create on that server. In the application we are using MyDbConnection as Connection String Name. So, please make sure to change the Connection String Name to MyDbConnection as shown in below image. Click OK to accept the defaults.
-
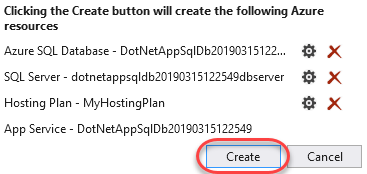
Now that all of the required resources have been configured, click Create to perform he initial deployment.
-
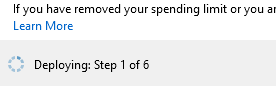
The first deployment may take a few minutes since there is a lot to provision. Future deployments for code changes are much faster. You can follow the progress at the bottom.
-
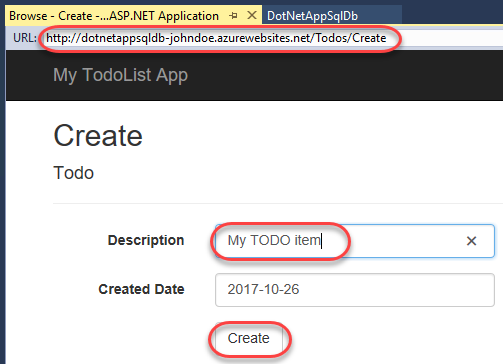
After deployment has succeeded, a browser window will open to the public URL. Test out the site by adding a new TODO item.
-
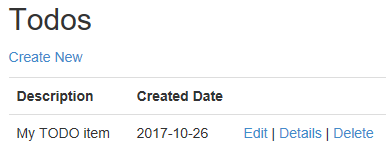
The new data is stored in SQL on Azure.
Task 3: Accessing the Azure SQL database locally
-
Select View | SQL Server Object Explorer.
-
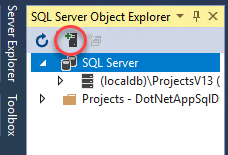
Click the Add SQL Server button.
-
Expand the Azure node and select the database you just created as part of the deployment. Enter the admin password and click Connect.

-
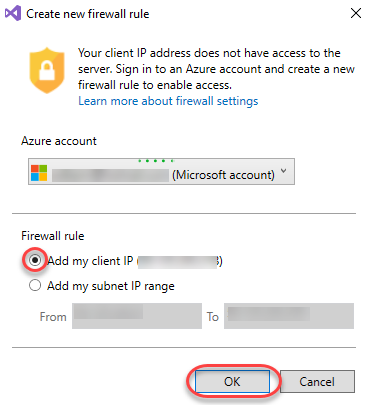
By default, a SQL server in Azure may only be accessed by services deployed within Azure. However, you can specify a firewall rule to allow access from your public endpoint. Select Add my client IP (or subnet range, if applicable) and click OK. This will allow you to connect to the database from your current connection.
-
Once Visual Studio finishes creating the firewall setting for your SQL Database instance, your connection will show up in SQL Server Object Explorer. Here you can perform common database operations, such as running queries, creating views & stored procedures, and more.
-
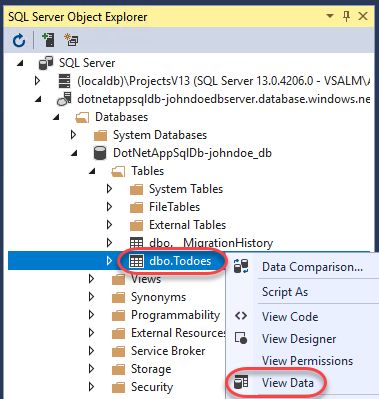
Expand the tree down to the Todoes table. Right-click it and select View Data.
-
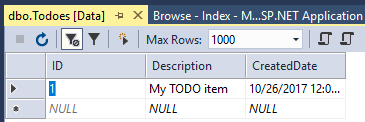
You can now work with the data stored in your SQL instance in Azure directly from Visual Studio.
Task 4: Updating the app with Code First Migrations
-
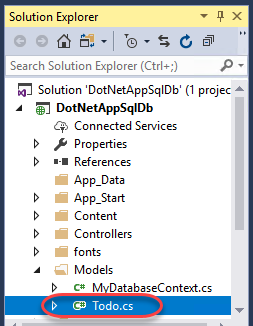
This application uses the Entity Framework Code First model to infer the database schema from the application’s model classes. In this case, the Todo class contains the schema information used for the one data table in the database. As a result, typical changes to the schema can be made by simply updating the class itself and using Code First Migrations to migrate the database forward. From Solution Explorer, open Models/Todo.cs.
-
While Code First Migrations supports sophisticated migration scenarios, this lab will use a simple one: adding a field. Add the field below to the Todo class.
public bool Done { get; set; } -
Select Tools | NuGet Package Manager | Package Manager Console.
-
Execute the command below to enable Code First Migrations for the project. This will also create an initial schema class based on the current database.
# PowerShell Enable-Migrations -
Execute the command below to add a new migration. This will create a second schema class that provides instructions for how to get from the previous (initial) state to the current one (that includes the Done property).
# PowerShell Add-Migration AddProperty -
Execute the command below to apply the new migration to the local database.
# PowerShell Update-Database -
Press F5 to build and run the application. Try adding, editing, and deleting an item. Note that the functionality should not have changed because the new property hasn’t been integrated into the user experience yet. Close the browser when satisfied.
-
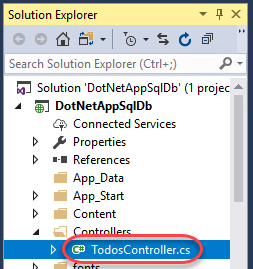
From Solution Explorer, open Controllers/TodosController.cs.
-
Replace the existing Create method definition (the one with the HttpPost attribute) with the line below. Note that it just adds the Done property to the parameter binding.
public ActionResult Create( [Bind(Include = "Description,CreatedDate,Done")] Todo todo) -
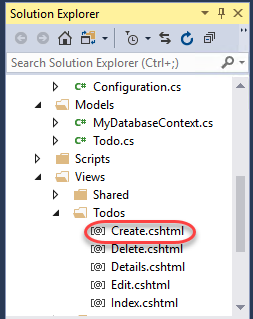
Now it’s time to edit some views so that the new property will be accessible to the user. For simplicity, only the Create and Index (list) views will be updated here. Open Views/Todos/Create.cshtml.
-
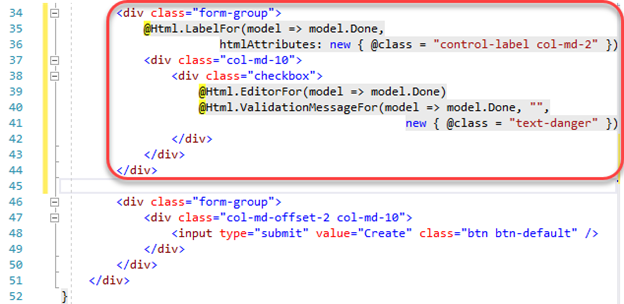
Insert the snippet below before the form-group div containing the submit button.
<!-- ASP.NET --> <div class="form-group"> @Html.LabelFor(model => model.Done, htmlAttributes: new { @class = "control-label col-md-2" }) <div class="col-md-10"> <div class="checkbox"> @Html.EditorFor(model => model.Done) @Html.ValidationMessageFor(model => model.Done, "", new { @class = "text-danger" }) </div> </div> </div> -
The final code should look like this.
-
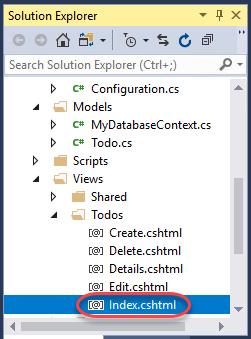
Open Views/Todos/Index.cshtml.
-
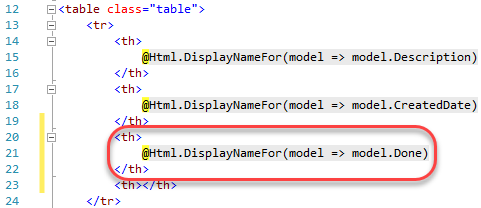
Insert the snippet below as the third table header column on the page.
<!-- ASP.NET --> <th> @Html.DisplayNameFor(model => model.Done) </th> -
The code should look like this.
-
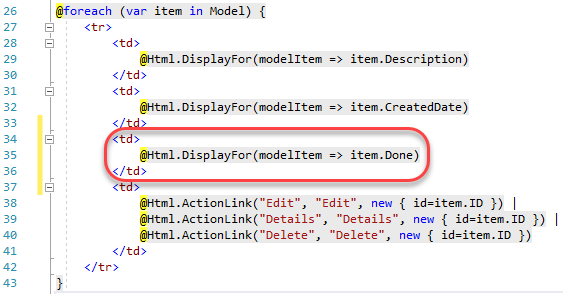
Insert the code below as the third column template in the same table as above.
<!-- ASP.NET --> <td> @Html.DisplayFor(modelItem => item.Done) </td> -
The final code should look like this.
-
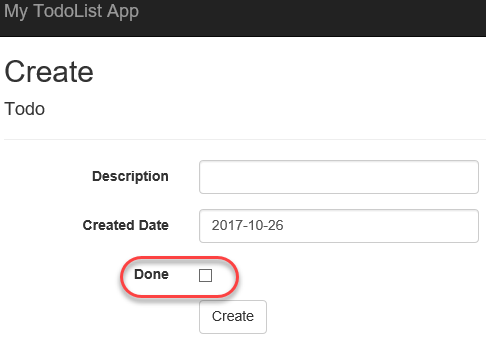
Press F5 to build and run the application. You should now see a Done option on the pages for creating and listing TODO items. Close the browser window when satisfied.
Task 5: Enabling Code First Migrations in Azure
-
Now that the changes have been developed and tested locally, it’s time to apply them to Azure. In Solution Explorer, right-click the DotNetAppSqlDb project node and select Publish.
-
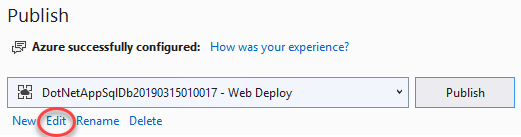
Click Edit.
-
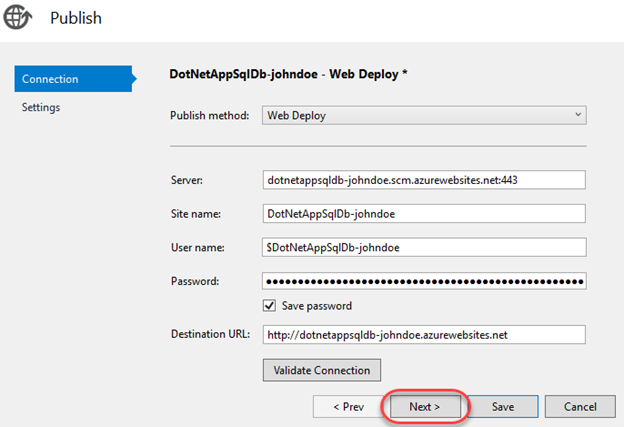
Click Next.
-
Wait for the connection string to load and then check Execute Code First Migrations. Click Save.

-
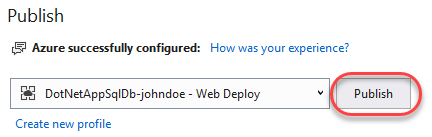
Click Publish to push out the new changes.
-
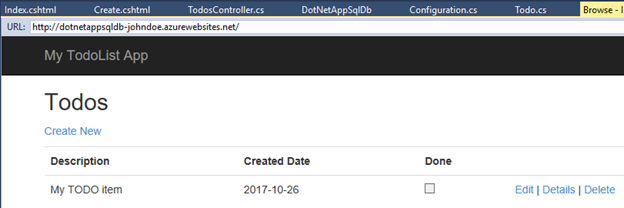
The browser will load the site after deployment. You can explore the site to see that the new field is now available.
Task 6: Streaming application logs from Azure
-
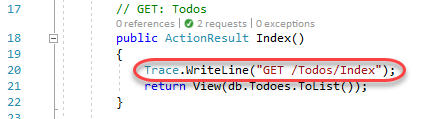
You can stream application tracing messages directly from your Azure web app to Visual Studio. This application uses this tracing to track and share diagnostic info. Open Controllers/TodosController.cs.

-
Note that there is a Trace.WriteLine() call at the beginning of each request method.
-
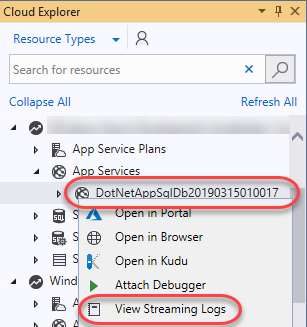
Select View | Cloud Explorer.
-
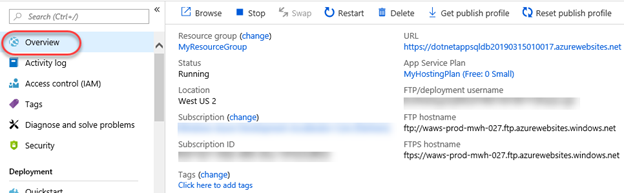
Locate the application under its resource group. Right-click it and select View Streaming Logs.
-
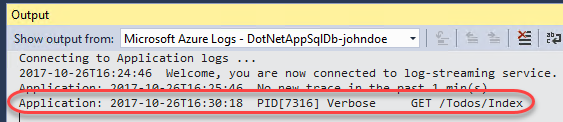
The streaming logs will now begin to appear in the Output window. However, you won’t see any trace messages because the default trace level is Error. As a result, only traces logged with Trace.TraceError() are shown.

-
Right-click the application again and select Open in Portal. This will open a new browser window.
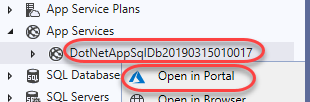
When you click on Open in Portal you may prompted to a screen which will be having two options. Download the Azure Portal app or Continue to Azure Portal website. Please select Continue to Azure Portal website and log in to the Azure Portal if necessary.
-
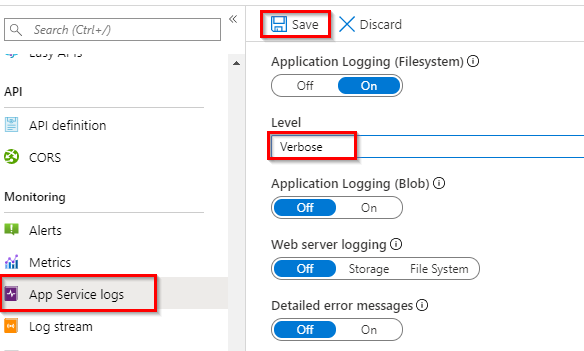
Select the App Service logs tab. Set the application logging Level to Verbose. This will include all traces. Other settings include anything as severe as the specified traces. For example, Warning will include TraceWarning() and TraceError(), but not TraceInformation() or WriteLine(). Click Save.
-
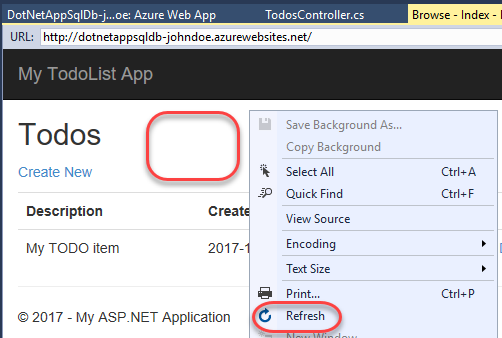
Refresh the web app in its browser window by right-clicking the body and selecting Refresh.
-
There will now be a trace message displayed in the Output window.
Task 7: Managing your Azure web app
-
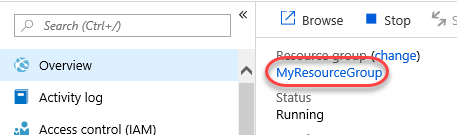
If you want to delete this web app, you can click Delete and follow the confirmation instructions. However, that would only delete the web app component of your deployment. If you would like to delete everything created as part of this lab at once, you can do so by navigating to the MyResourceGroup resource group that contains all of the resources created in this lab.
-
You can then follow the Delete resource group workflow to remove them all.
