Overview
In this lab, you’ll learn about the wiki feature of Azure DevOps Server 2019 that enables easier collaboration experiences for development teams. Each project in Azure DevOps now supports its own wiki, which enables you to conveniently write pages that help your team members and other users understand, use, and contribute to your project.
Prerequisites
In order to complete this lab you will need the Azure DevOps Server 2019 virtual machine provided by Microsoft. Click the button below to launch the virtual machine on the Microsoft Hands-on-Labs portal.
Alternatively, you can download the virtual machine from here.
Exercise 1: Wiki collaboration with Azure DevOps Server 2019
Task 1: Creating and editing a project wiki
-
Log in as Sachin Raj (VSALM\Sachin). All user passwords are P2ssw0rd.
-
Launch Internet Explorer from the taskbar.
-
Click the PU DevOps Portal shortcut to navigate to the PartsUnlimited DevOps portal.

-
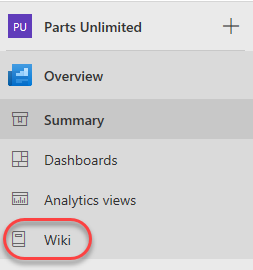
Use the navigation to get to the Wiki hub.
-
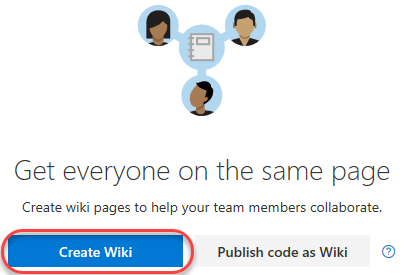
Since this project does not yet have its wiki configured, click Create Wiki to set one up. When you create your first wiki, Azure DevOps will provision a git repository that will store all your pages and artifacts.
-
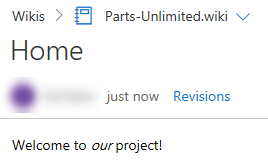
Enter “Home” as the title of the first wiki page. Enter some body content, such as “Welcome to our project!”. Azure DevOps wikis support Markdown, and you can learn more here. Click Save.

-
Click Close to exit the edit experience.

-
Your first wiki page is now available for everyone to see.
-
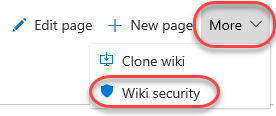
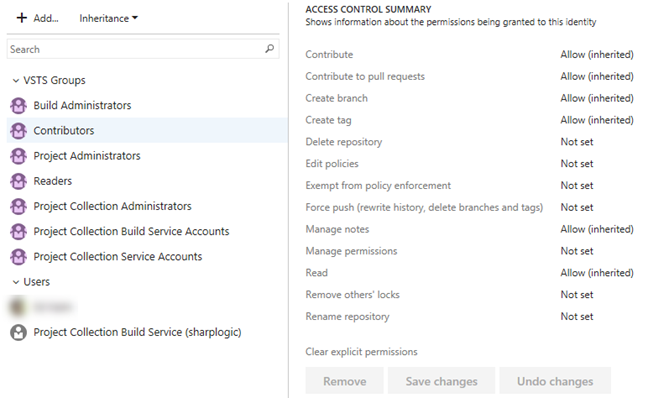
By default, all members of the Contributors group can edit README files and wiki pages. Stakeholders can read files and revisions, but cannot edit anything. Select More | Wiki security to review permissions.
-
Since the wiki is stored as a Git repo, the permissions are set against the repo and passed through the user experience. Close the dialog when satisfied.
-
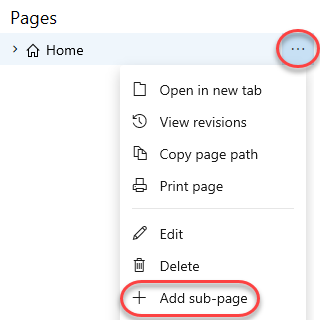
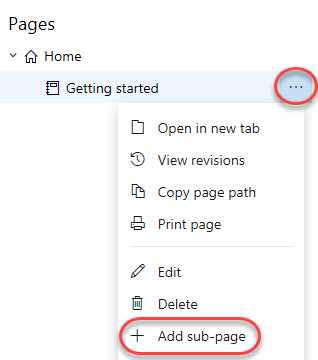
Locate the Pages panel on the right side of the window. It lists all of your wiki pages, which is just the one at this time. You can easily add and manage pages here. From the dropdown menu for the Home page, select Add sub-page.
-
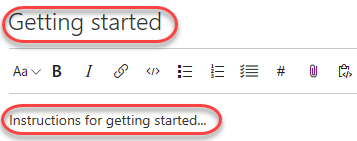
Set the title of this new page to “Getting started” and type some body content.
-
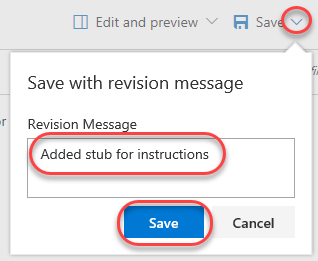
This time, click the Save dropdown button to specify a comment. Enter “Added stub for instructions” and click Save.
-
Close the editor view.

-
Now add a sub-page to the Getting started page.
-
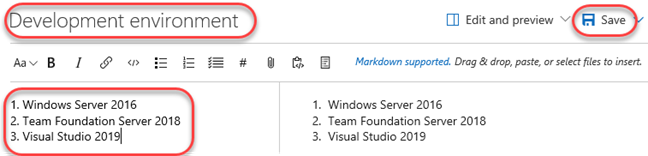
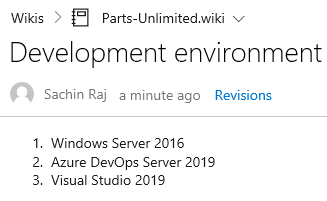
Set the title for this page to be “Development environment”. Add a list of system requirements that includes Windows Server 2016, Team Foundation Server 2018, and Visual Studio 2019 using the markdown list format as shown below. Click Save.
-
Click Close to exit the editing view.

-
Click Edit page to make a quick update.

-
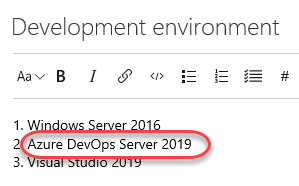
Change the reference from TFS 2018 to Azure DevOps Server 2019.
-
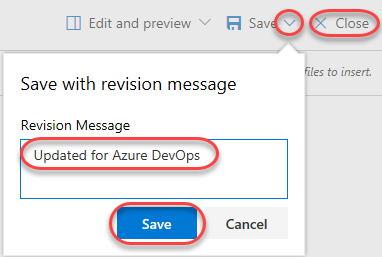
Use the Save dropdown to provide a more descriptive commit message explaining the change and click Save. Then Close the edit view.
-
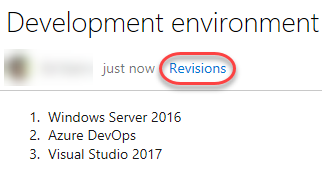
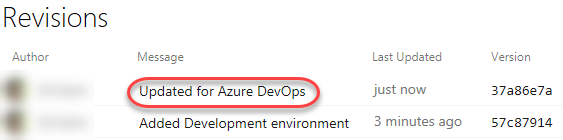
Click Revisions to see a list of changes committed for this page.
-
Click the most recent revision.
-
Azure DevOps provides a diff view so that you can easily see what was changed. You also have the option to revert to this version with a single button click.

-
Return to this wiki’s home using the breadcrumb navigation at the top.

-
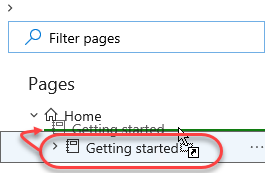
You can easily rearrange the order of the pages using the tree view on the right. Drag the Getting started page slightly up until a green line appears under the Home page. This indicates that you want to make these pages peers.
-
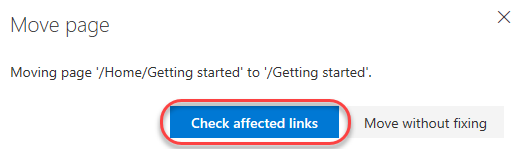
Since the page is being re-parented, you’ll need to confirm the move. This kind of move will break links you will have manually added to other pages (none at this point), so you’ll need to decide if you want to check for affected links by clicking Check affected links.
-
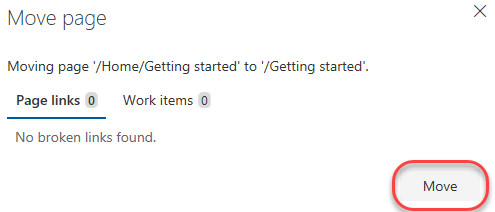
In this case there are no links, so click Move.
-
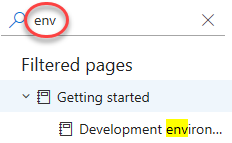
Sometimes wikis can get pretty big, so it’s important to be able to find specific pages. Type “env” to filter the pages down to just those whose titles include that text.
-
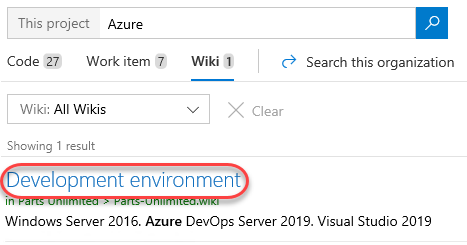
Wiki pages are also indexed to show up in search results. Use the search bar in the top right corner to search for “Azure”.

-
The wiki page you just updated should appear as one of the results. Click it.
-
Now anyone working on the project can easily find wiki content alongside code and work item results.
Task 2: Publishing code as wiki
-
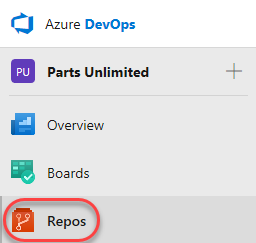
Content that you already maintain in a Git repository can be published to a wiki. For example, content written to support a software development kit (SDK), product documentation, or README files can quickly be published to a wiki. Multiple wikis can be published within a single team project. To get started, navigate to the Repos hub.
-
Create a New repository.

-
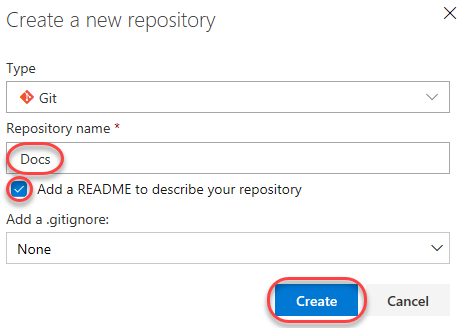
Set the new Repository name to “Docs” and check the Add a README option. Click Create.
-
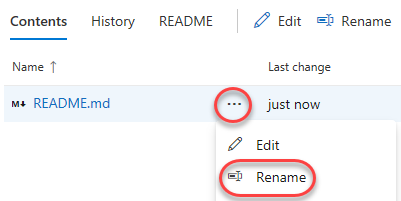
From the README.md dropdown, select Rename. We will reuse this file for the wiki itself.
-
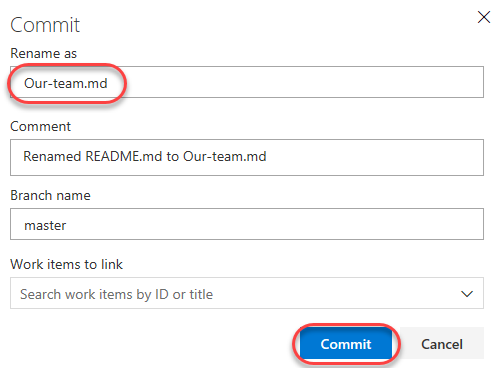
Change the name to “Our-team.md”. Note that the wiki engine will use the name of the file as a title of the article and automatically replaces dashes with spaces. Click Commit.
-
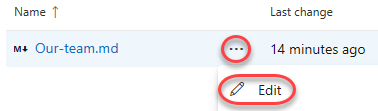
From the Our-team.md dropdown. Select Edit.
-
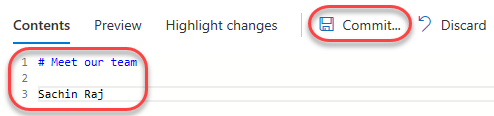
Add some markdown to the file and Commit the changes. Confirm the commit when prompted.
-
Now that we have a file in place, let’s publish our code as wiki. From the Overview navigation, right-click Wiki and select Open in new tab. The next few steps will involve making changes and reviewing the results, so it will be easier to have a browser tab open to each.

-
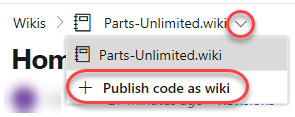
From the wiki dropdown, select Publish code as wiki. Note that this dropdown will enable you to unpublish a wiki later on.
-
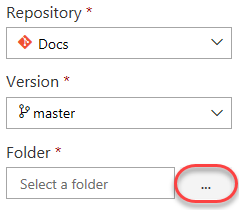
Ensure Docs is the selected wiki. Note that you also have the option to select a specific branch if you prefer. In this case, leave it to master. Click the Browse button to select a Folder.
-
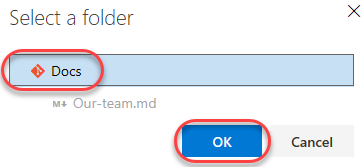
Select the root of the repo and click OK.
-
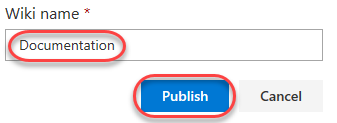
Set the Wiki name to “Documentation” and click Publish.
-
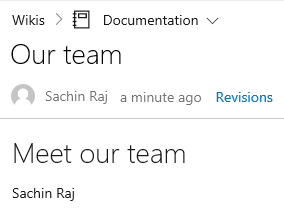
You should now see the markdown file you edited earlier as the landing page of the wiki.
-
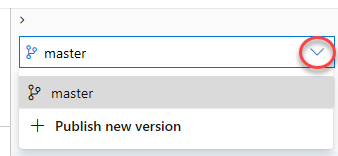
Note that you can also publish different versions of a wiki, as well as specify the version you would like to view.
Task 3: Editing wiki in a repo
-
You can edit the repo however you like, whether it’s using Visual Studio or any other Git-compatible tools. You can also continue to edit the wiki in the browser, which we will do in this lab. Return to the tab open to the wiki repo.
-
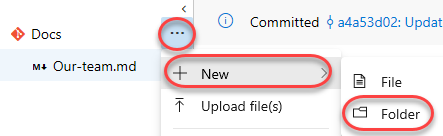
From the dropdown for the Docs repo root, select New | Folder.
-
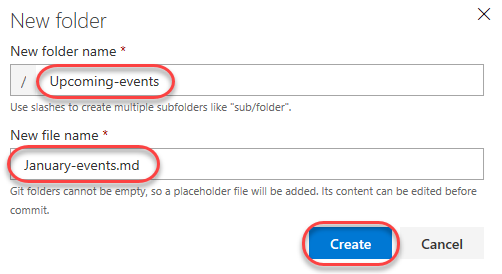
Enter a New folder name of “Upcoming-events” and a New file name of “January-events.md”. Note that the same naming convention is used for folders. Click Create.
-
Add some markdown to the January events page and Commit the changes. Confirm the commit.

-
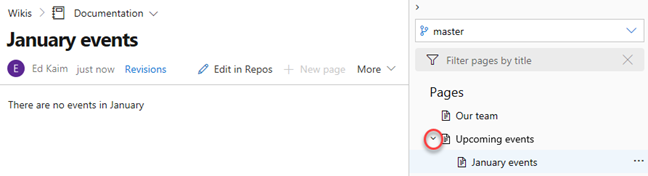
Return to the tab open to the wiki browser and refresh the page.
-
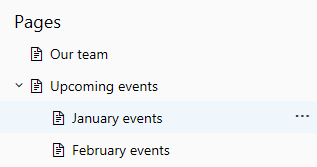
There is now a folder for “Upcoming events” and a page for “January events”.
-
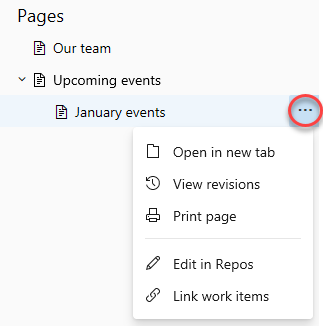
Expand the dropdown menu for January events. Note that it provides an option to Edit in Repos, which will bring you to the same edit page we have open in the other tab.
-
Return to the tab open to the wiki repo.
-
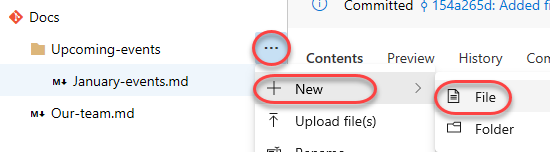
From the Upcoming-events dropdown, select New | File.
-
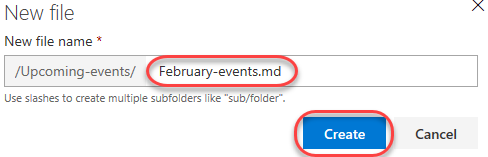
Name this file February-events.md and click Create.
-
Add some markdown to the February events page and Commit the changes. Confirm the commit.

-
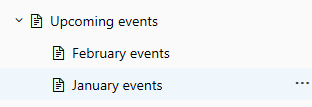
Return to the tab open to the wiki browser and refresh the page.
-
Note that the pages are orders alphabetically by default. If you would like to set a specific order, you may do so using a .order file.
-
Return to the tab open to the wiki repo.
-
Add a new file to the Upcoming-events folder as before.

-
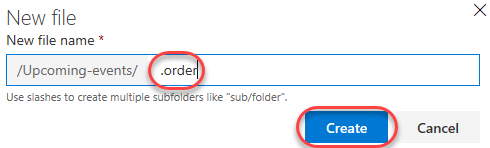
Name this file “.order” and click Create.
-
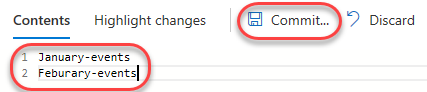
Put the names of the files without their extensions in the order you want them to be displayed. In this case, put January-events before February-events. Commit the file and confirm.
-
Return to the browser tab with the wiki viewer and refresh the page. The articles will now be ordered as defined in the .order file.