Overview
Visual Studio App Center is an integrated mobile development lifecycle solution for iOS, Android, Windows and macOS apps. It brings together multiple services commonly used by mobile developers, including build, test, distribute, monitoring, diagnostics , etc., into one single integrated cloud solution.
In this lab, we are going to automate the Build-Test-Distribute process for Tailwind Traders mobile applications using App Center. The code for the mobile application is on GitHub at TailwindTraders-Mobile
In this lab, we are going to use App Center Demo Generator to automatically provision required source code repository in your GitHub account and to configure a project in your App Center account.
Before you begin
You must have the following -
-
App Center account - Sign up with App Center for free
-
API Token with Full Access to the App Center
-
Personal Access Token (PAT) for GitHub with repo scope
Task 1: Set up the project in App Center using App Center Demo Generator
-
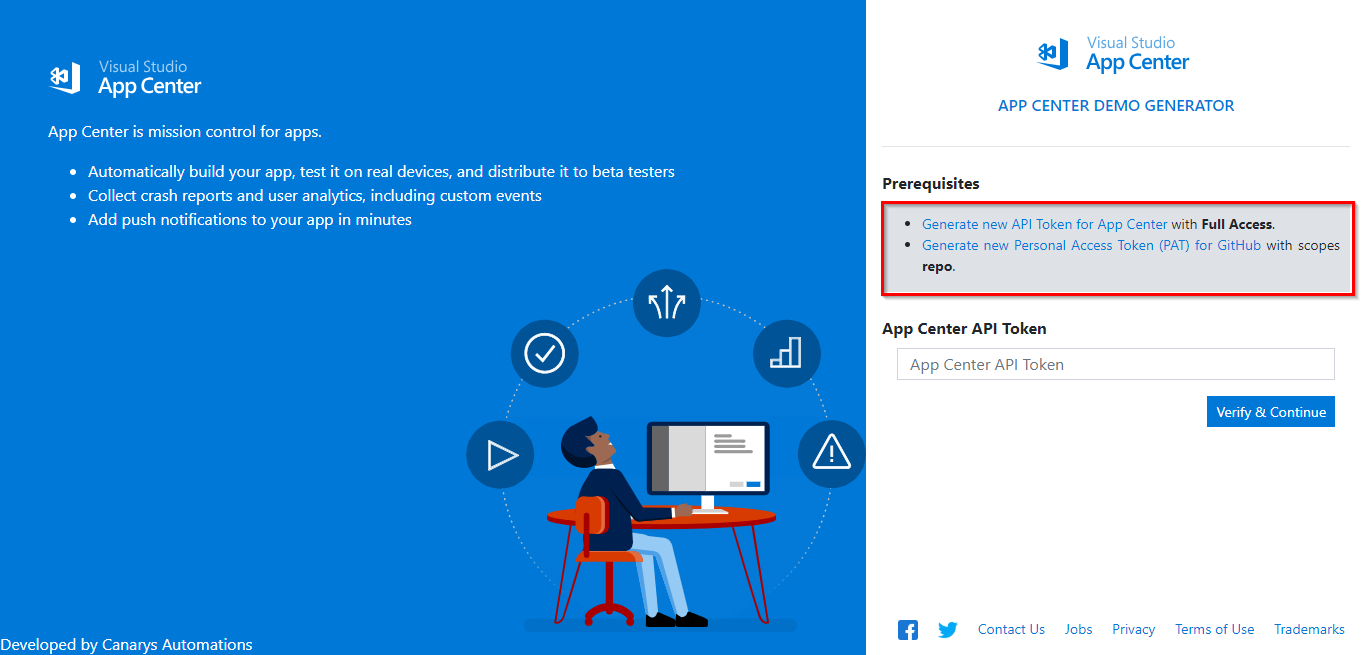
Open App Center Demo Generator site on your browser. Click the links in the Prerequisites section to generate the required API tokens mentioned above.
-
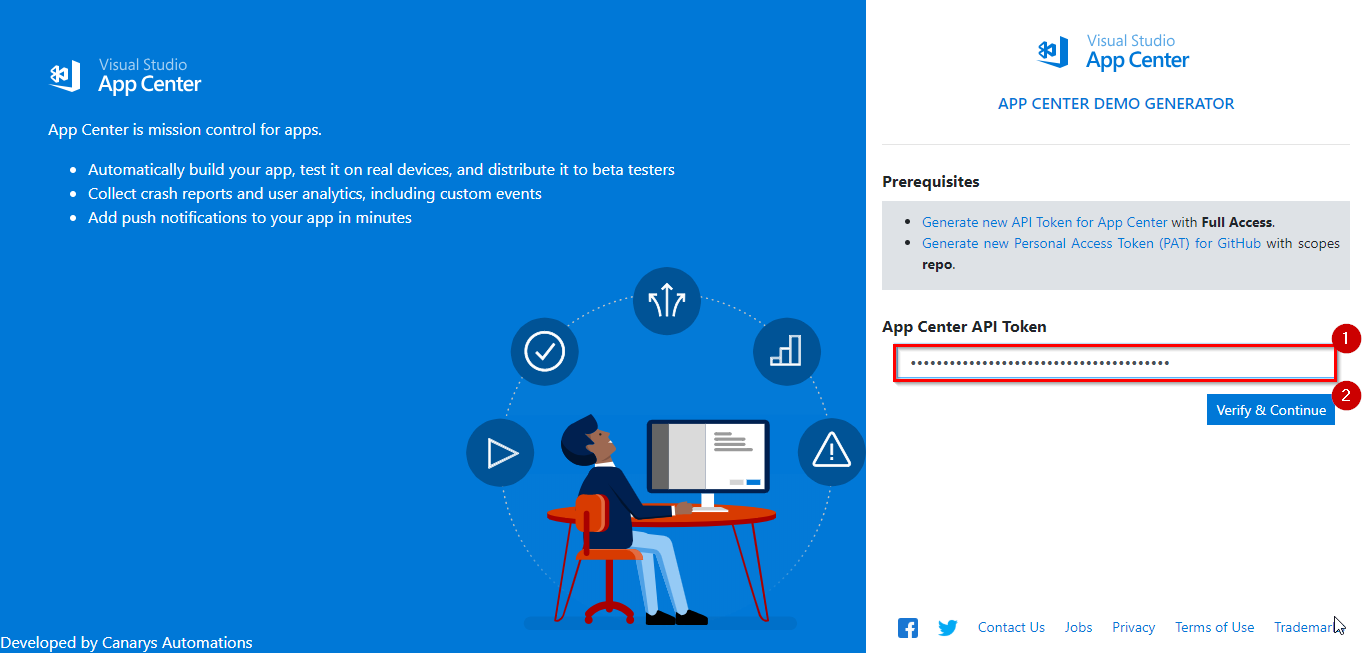
Enter a valid App Center API Token in the App Center API Token text field and click the Verify & Continue button.
-
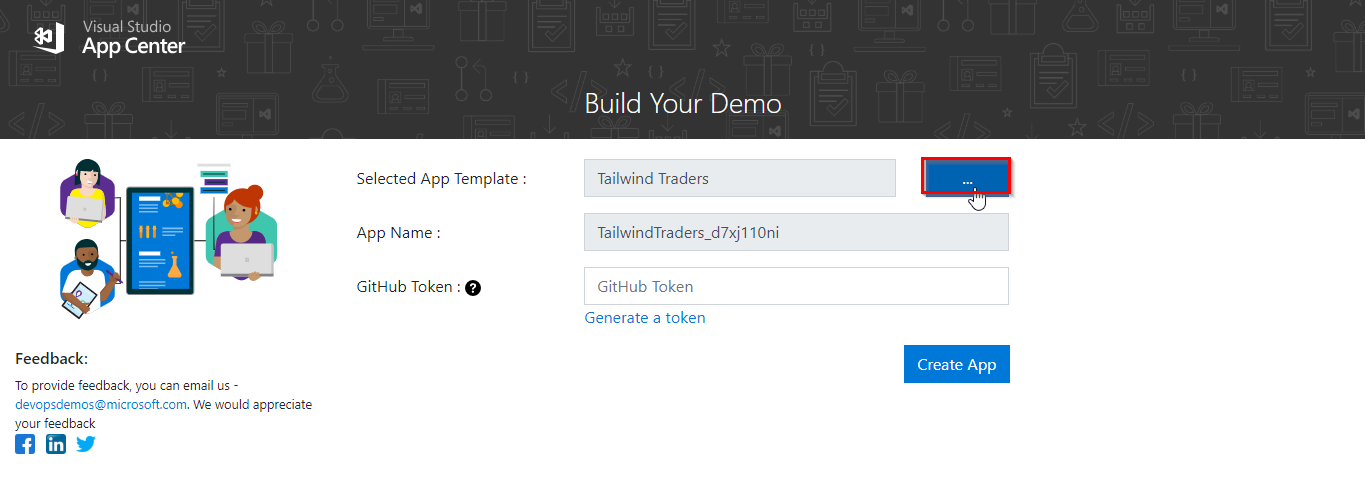
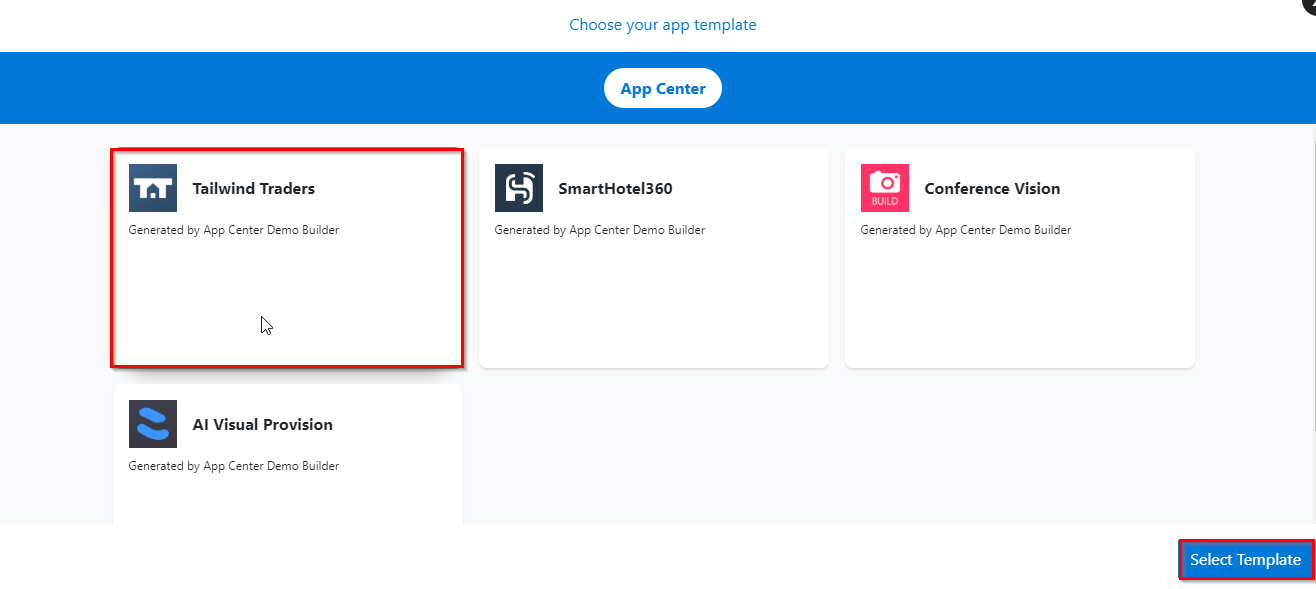
Tailwind Traders is the default selected template. But the App Center Demo Generator has several other templates which can be chosen by selecting the ellispis (…) button next to the Selected App Template field.
-
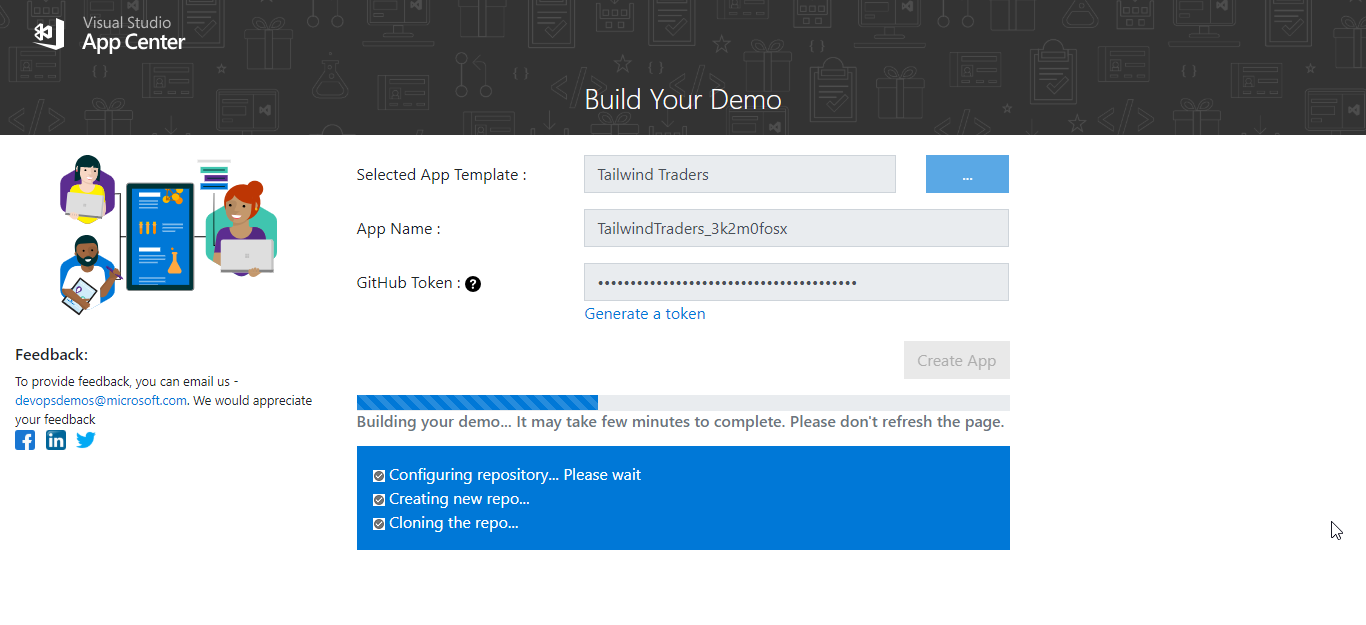
Once the template is selected, a name for the application is auto-generated. Enter a valid GitHub token that was created previously. If you haven’t created the token yet, click the Generate a token to generate a token with repo access. Click the Create App button.

-
Once the process starts, you should be able to see status messages appearing in the page indicating the process of each step that the demo builder performs.
-
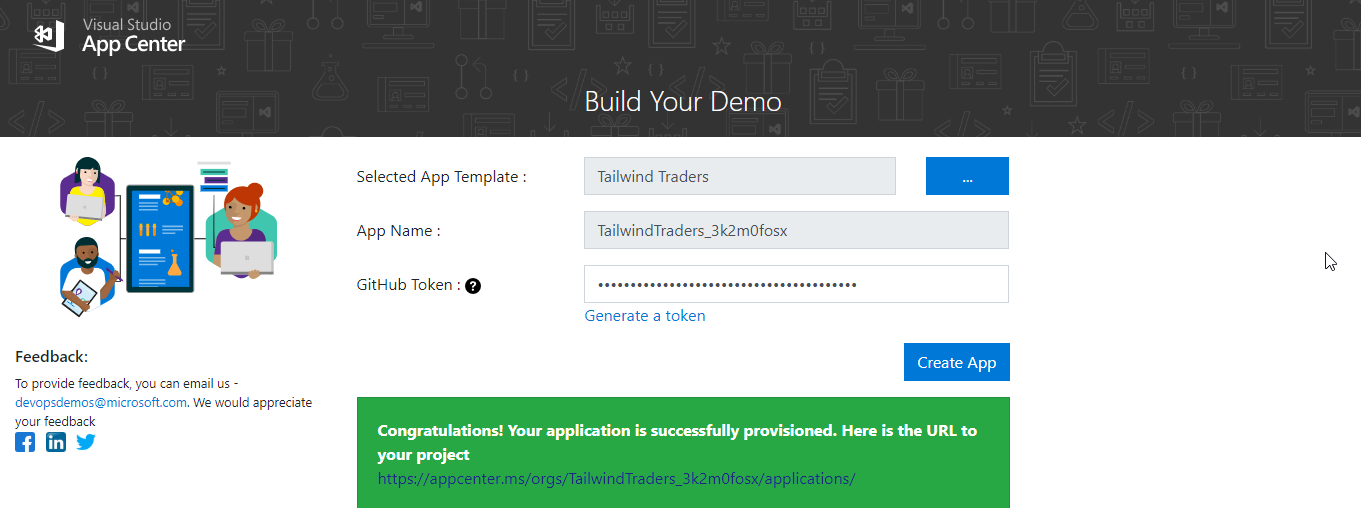
Once the application is provisioned successfully, you should see a success message with the App Center URL for the provisioned application.
-
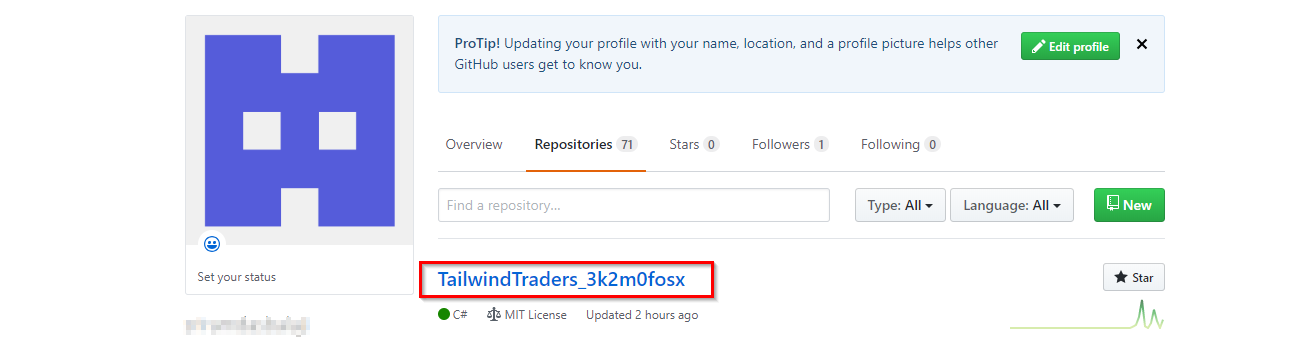
A repository with the source code will be created in your GitHub account that was provided and will be used in the build configuration of the application.
-
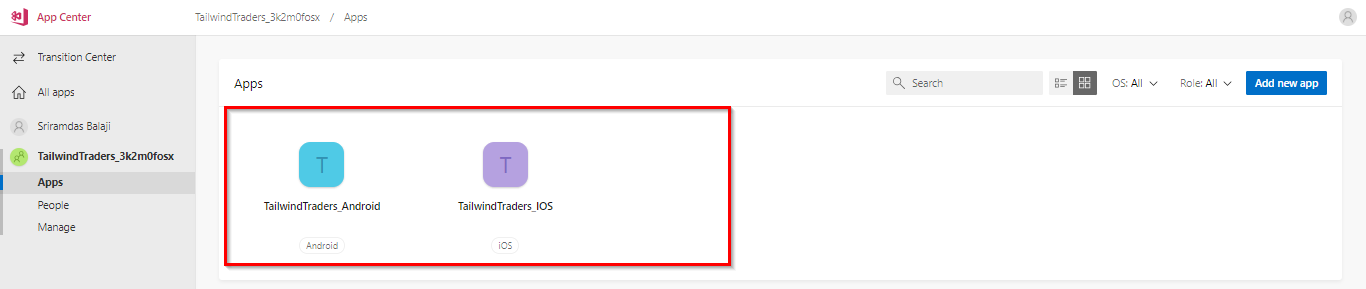
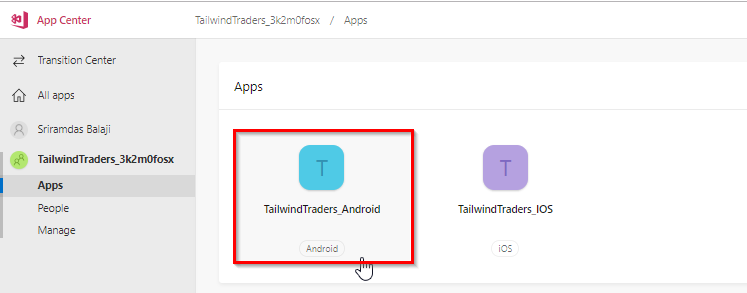
Navigate to the AppCenter portal by clicking the URL that has been generated after the application was successfully provisioned. You will see two apps created as shown below. One is for Tailwind Traders Android app and one is for iOS.
Task 2: Managing Teams and Distribution groups for apps
-
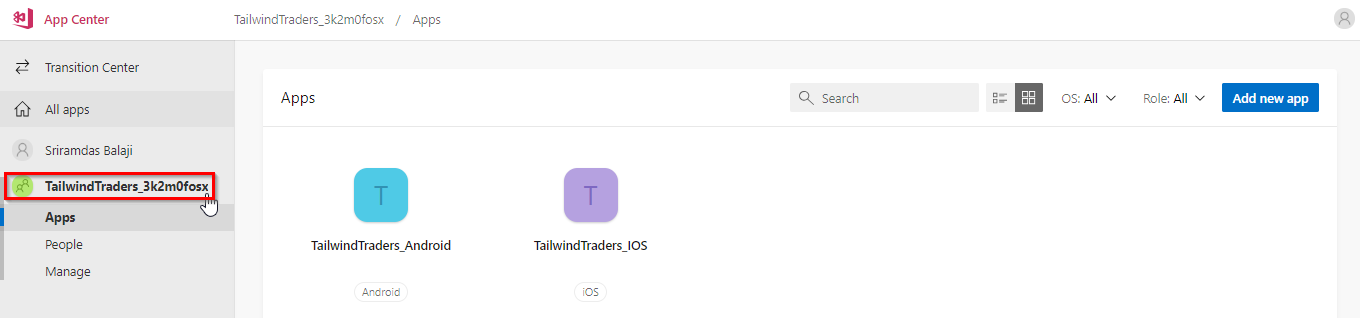
In App Center portal TailwindTraders_xxxxx which was created is known as Organization. Organizations are used to manage multiple apps. And under this Organization, we have two apps. One is for Android and other one is iOS. For more information on Creating and managing organizations click here.
-
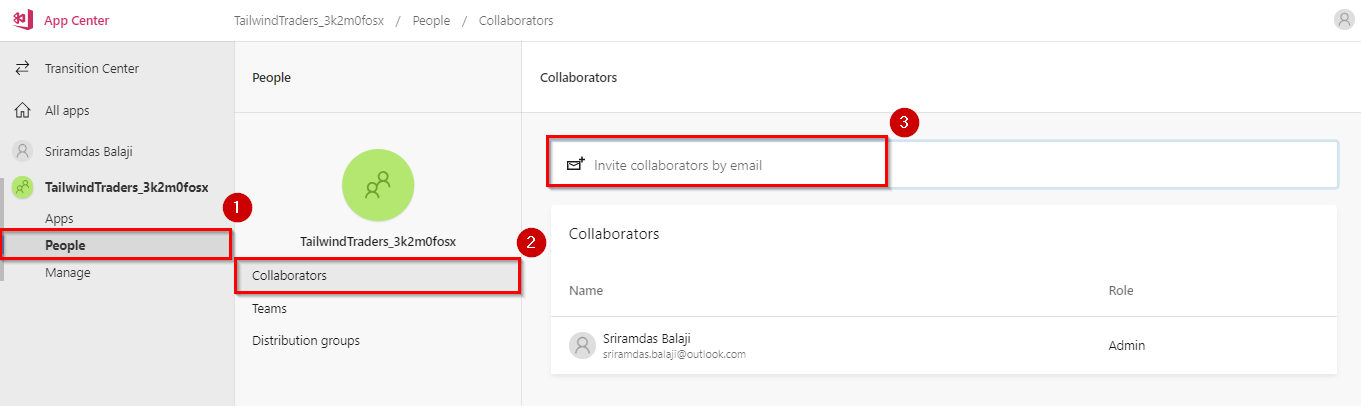
Select People under the organization and select Collaborators. In this window you can add/invite the collaborators by email for your app.
-
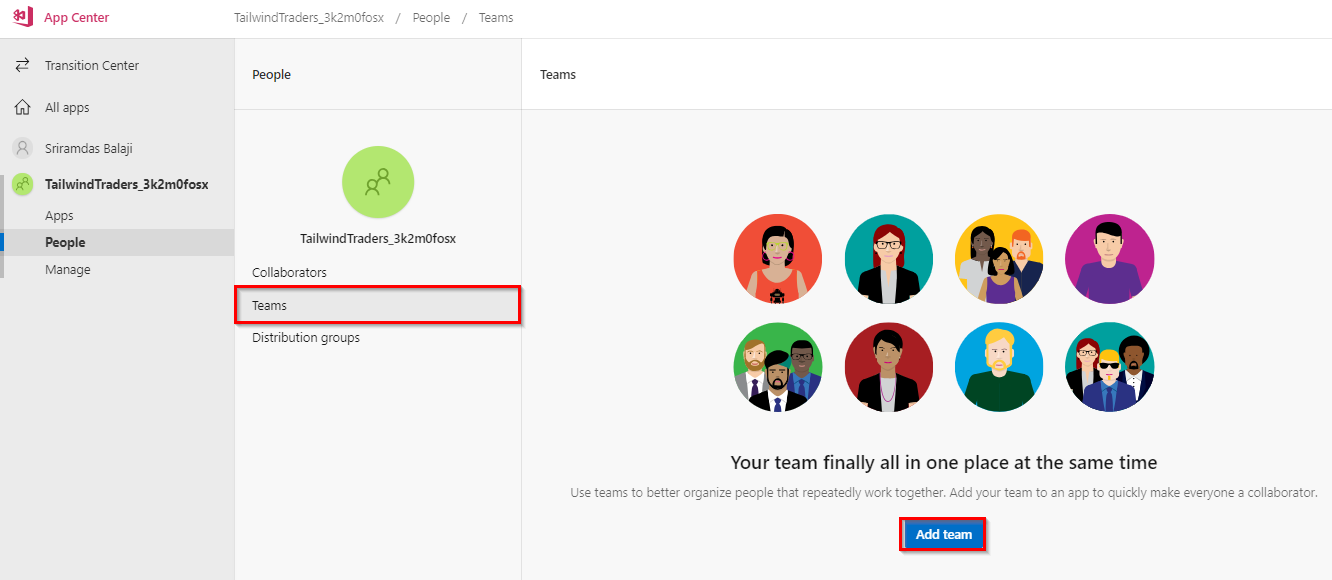
Select Teams. Use teams to better organize people that work together. Any collaborator within an organization can create teams. Teams allow for better management of collaborators and app permissions. For more information on creating and managing teams click here
-
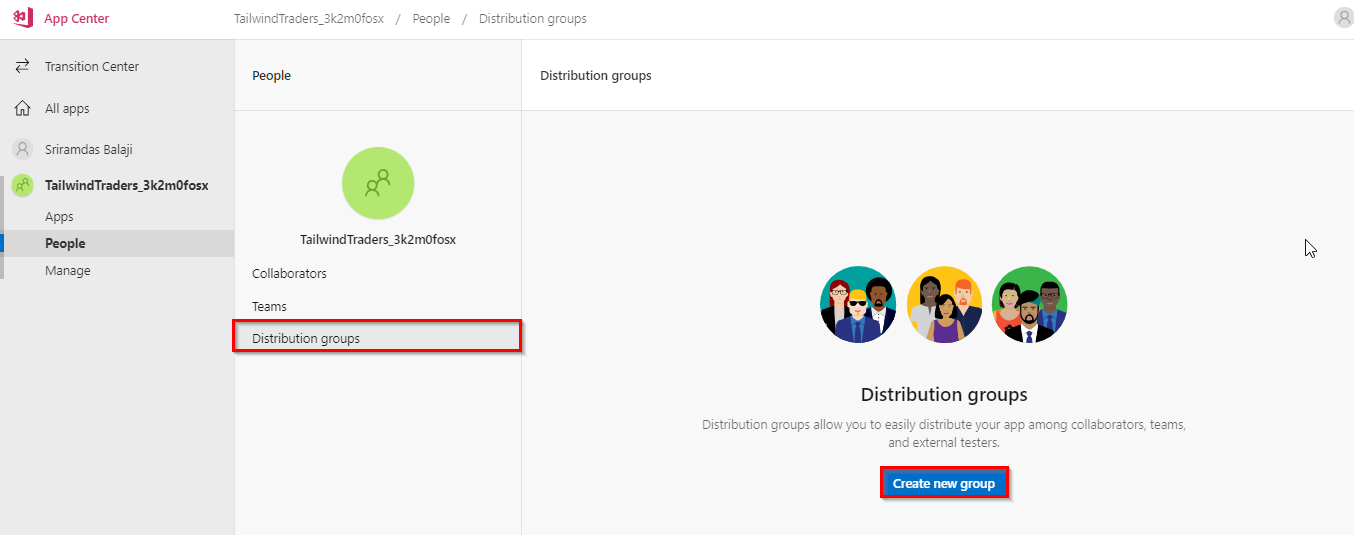
Select Distribution groups. Distribution groups allow you to easily distribute your app among collaborators, teams, and external testers. Here you can create multiple groups to distribute your app.
Task 3: Examine the Build-Test-Distribute process for Tailwind Traders Android app
Since we have used App Center Demo Generator, it has automatically configured Build process for both the mobile apps. Let us examine the same.
-
From the App Center portal open the Tailwind Traders Android app
-
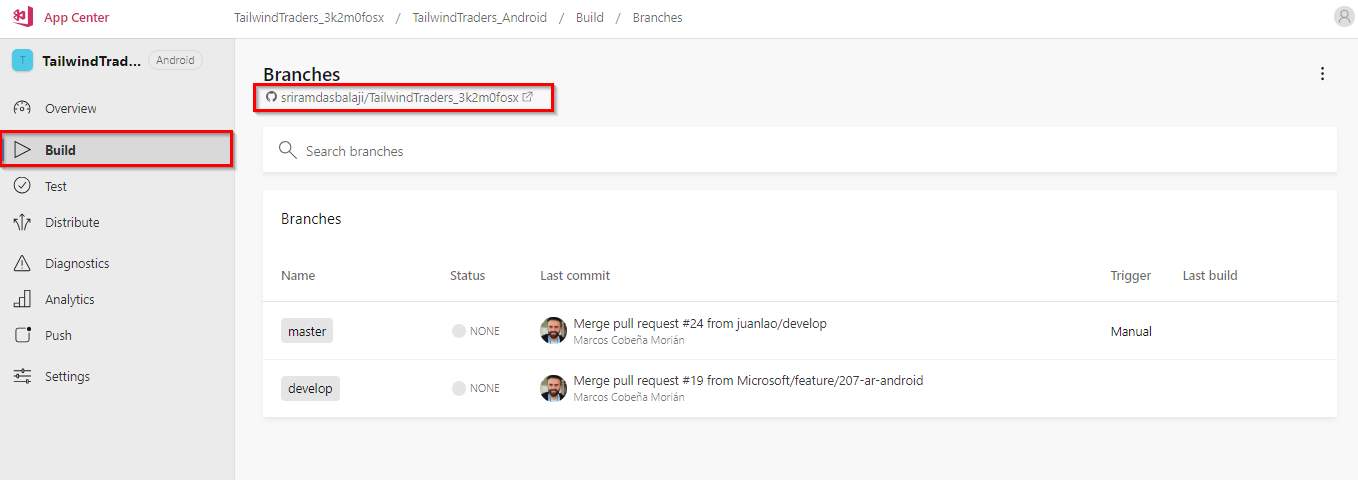
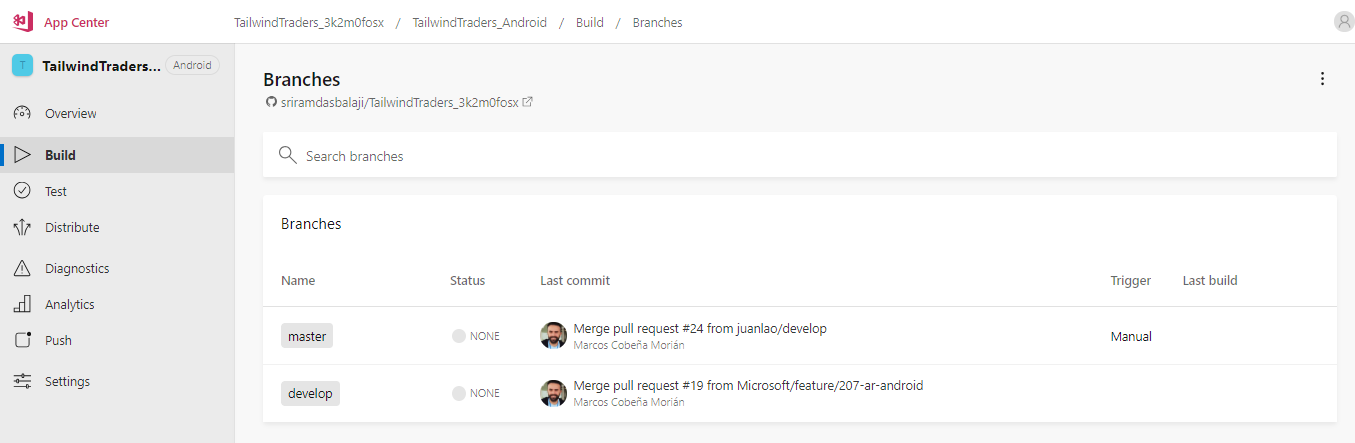
Select Build tab on the left side menu. The App Center Build service helps you build the mobile apps you and your team are working on, using a secure infrastructure. To start building your Android app, you will need to connect to your repository from GitHub. You could see that your Android app build is linked to your GitHub repo which is provisioned previously.
-
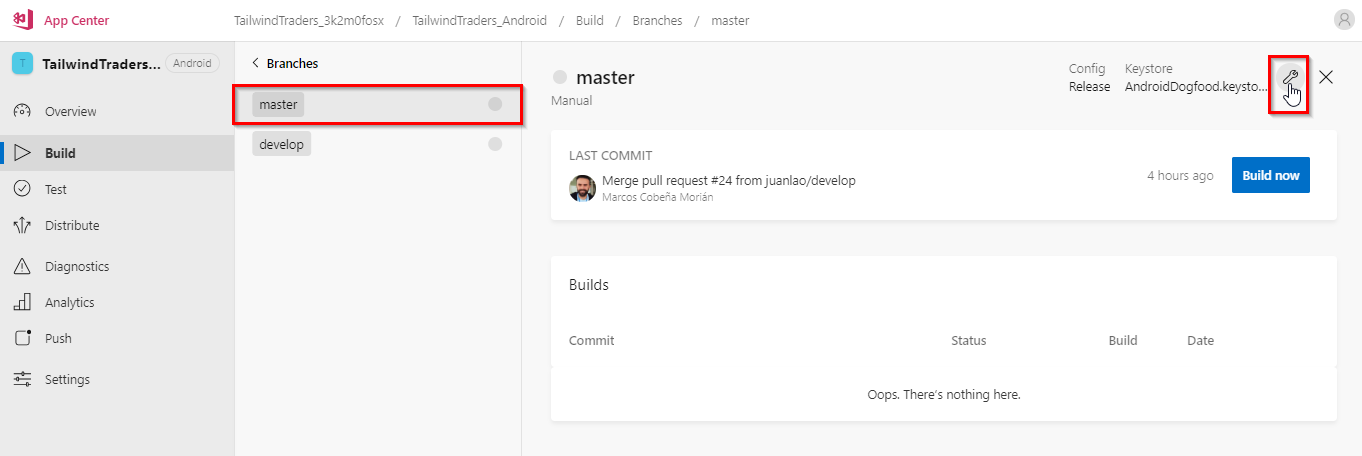
Select master branch and select settings icon in the resulting page.
-
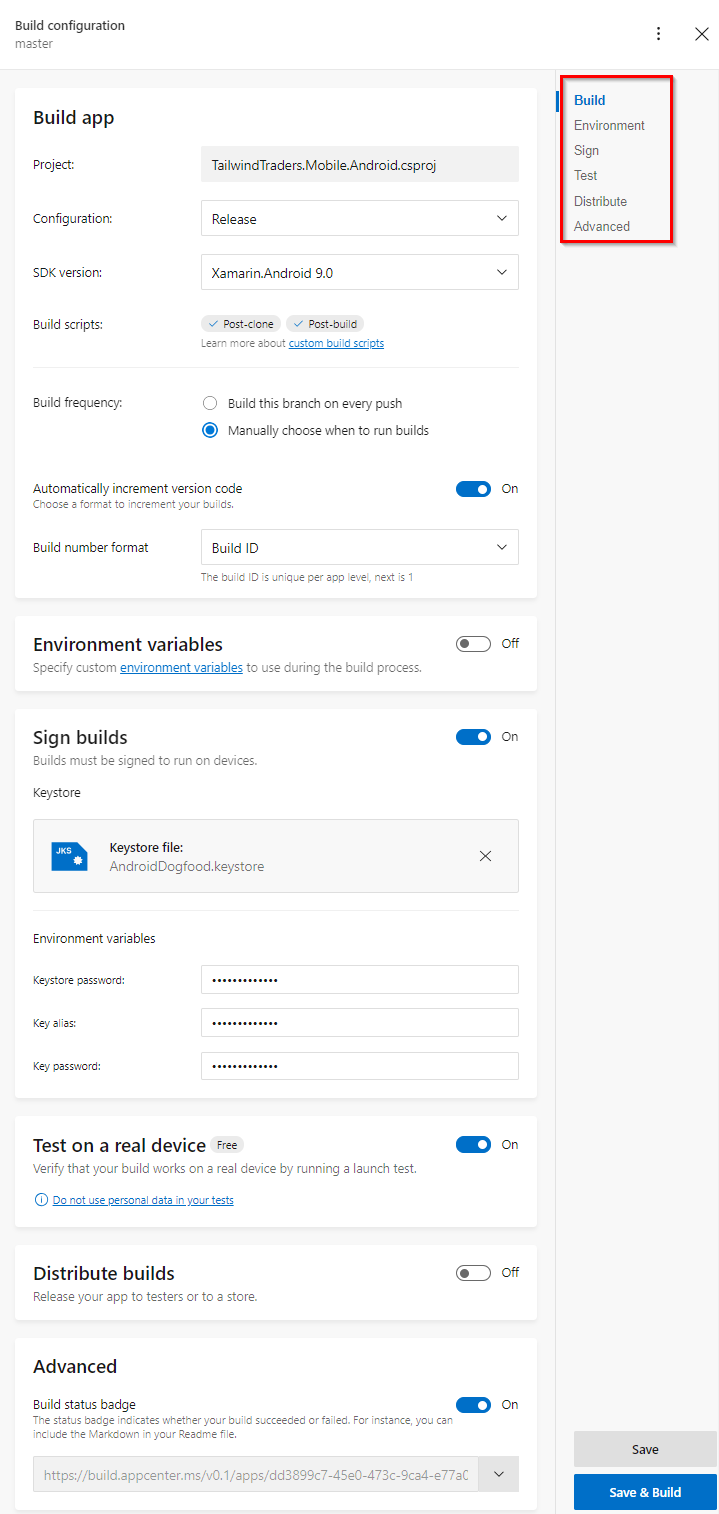
Below is the Build configuration for the Tailwind Traders Android app. This configuration is divided into multiple sections. Let us have a look at how these different sections are used.
-
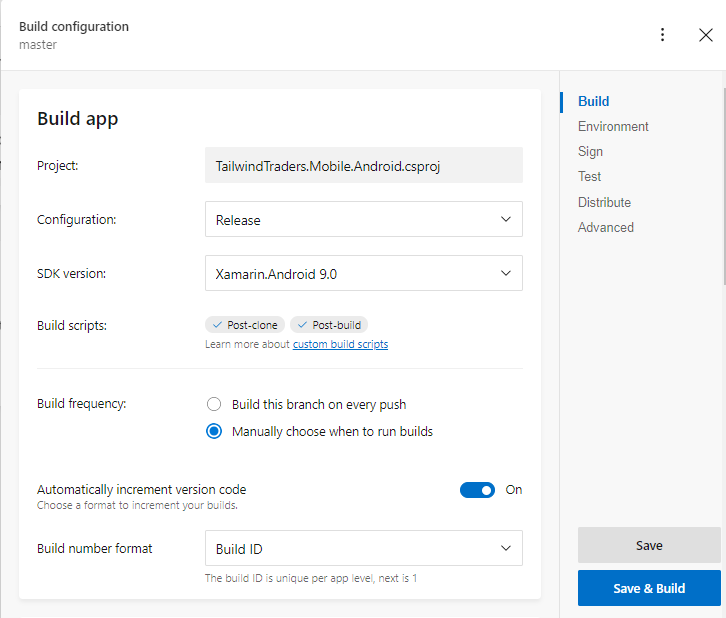
Under Build app section we will define which project to build, configuration, SDK version etc.
-
Project : The available projects in your repository will populate if they are located within the range of analysis. Select the correct project for your Android build and select the appropriate Configuration. Here we selected the Tailwind Traders Android project file from the repo.
-
SDK version : App Center allows using different Mono environments bundled with the respective Xamarin.Android SDK for your builds.
-
Build scripts : You can add custom build steps that run at pre-defined stages during build time: post-clone, pre-build, post-build.
-
Build frequency(Build triggers) : By default, a new build is triggered every time a developer pushes to a configured branch. This is referred to as “Continuous Integration”. If you prefer to trigger a new build manually, you can change this setting in the configuration pane.
-
Automatically increment version code : When enabled, the version code in the AndroidManifest.xml of your app automatically increments for each build. The change happens pre build and won’t be committed to your repository.
-
Build number format : Automatically increment the build number of your builds with a specific format. Choose the continuous App Center build ID or other predefined formats.
-
-
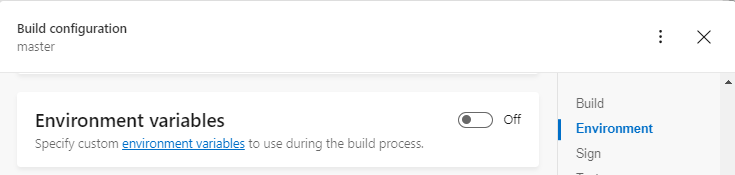
Under Environment variables section, you can enable the toggle to define custom environment variables to define sensitive information that is required for your build without checking them into your repository. The values of variables can be encrypted by clicking on the lock icon so they won’t get exposed to the build configuration and appear obfuscated in the build logs.
-
Select Sign builds section. A successful build will produce a
.apkfile. To release the build to the Play Store, it must be signed with a valid Keystore and Alias. To sign the builds produced from a branch, we need to enable code signing in the configuration pane, upload Keystore, and provide the values needed in the configuration pane. This has been set up for you automatically in this lab. You can read more detailed code signing instructions.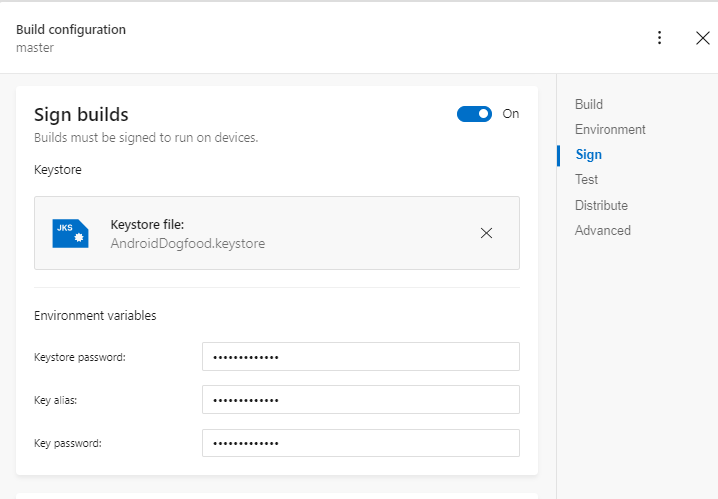
-
Select Test on a real device section. App Center Build’s Launch Test feature helps to run your latest successful build (
.apk) on a real device using the App Center Test. Launching your app after each build validates that your latest build is working.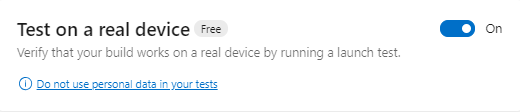
-
Select Distribute builds section. Using this feature you can release your app to testers or to the store directly from App Center. You can configure each successful build from a branch to be distributed to previously created distribution groups.

These are the build configuration steps available for your application in App Center.
Task 4: Queue the Build in App Center
Once you are done with your Build configuration Save the changes and close the configuration window.
-
Click Build now. A build will be queued for the Tailwind Traders android project. You can view the build progress in the live console.
-
Since we enabled Test on real device feature in build configuration, the build may take more than 10 minutes to complete.
Testing mobile applications is extremely critical as mobile users are considered less forgiving. Statistics show that many users delete the app immediately if they find them buggy or non-performing. Users may post bad reviews in the app stores that would undermine the future product releases. Given that there are a wide range of mobile devices in the market running on various hardware and OS versions, testing the app on every device can be very expensive, more complex and challenging than a desktop or web application. Fortunately, the App Center offers thousands of physical devices to deploy apps and run tests. This is offered as a service (aka Test Cloud) making it affordable for teams of any size. You can choose from thousands of real physical devices to test the mobile app.
-
Once the build is a success, you can download the application
.apkfile and build logs from the build output.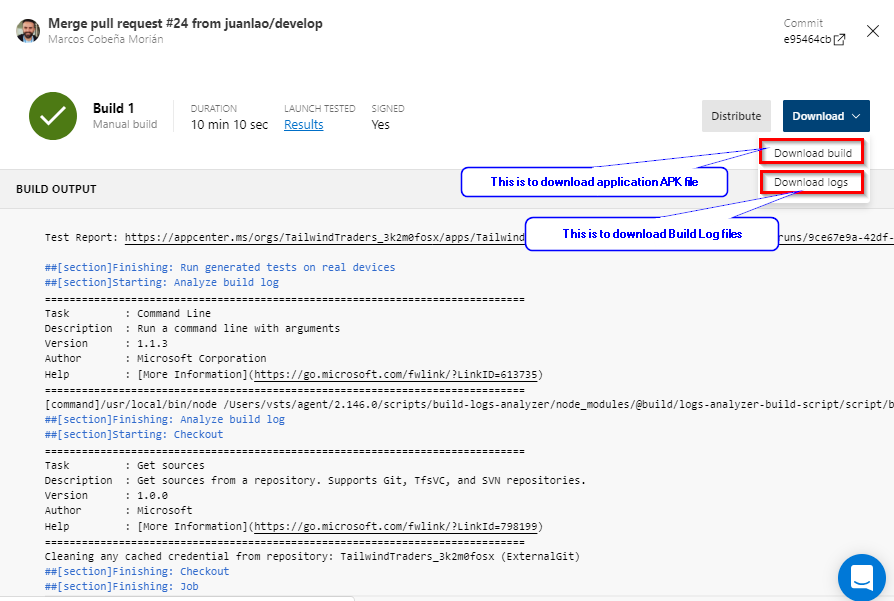
-
You can also Distribute the application to your collaborators or distribution groups. Users will get an email notification about your new release.
-
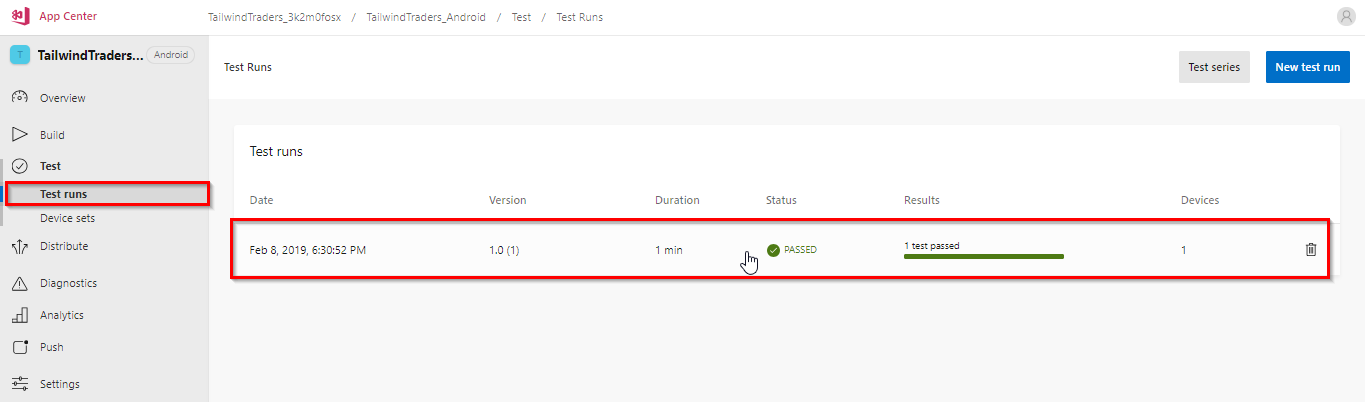
Since we enabled Test on real device feature you can view the test run performed as part of the build. Select Test tab. And open Test run.
-
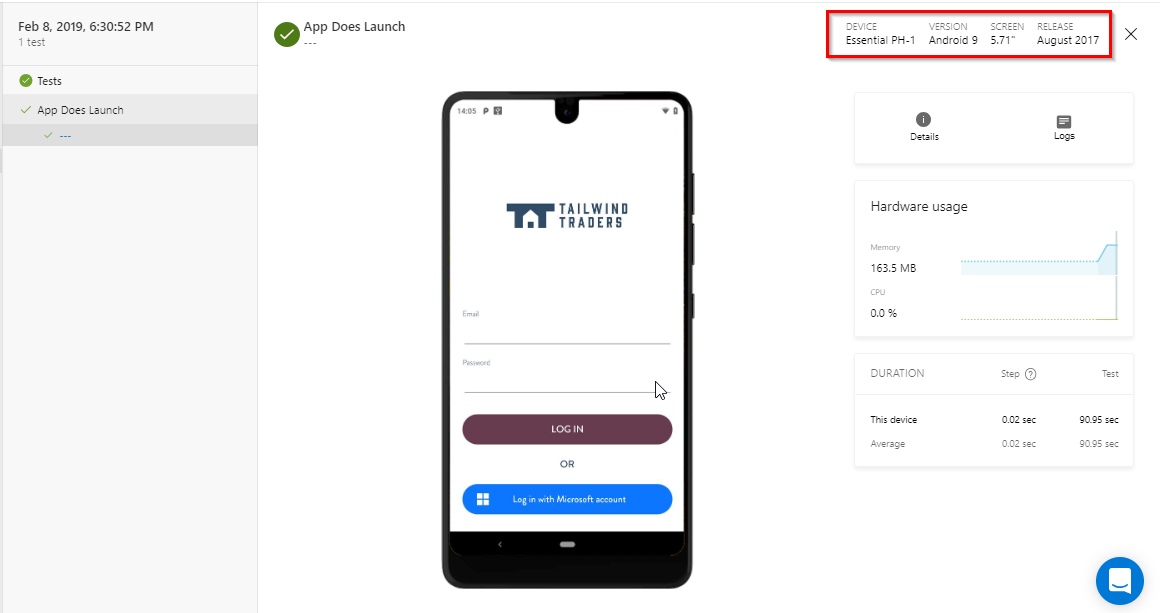
You can see the Test results as shown below. Select App Does Launch test.
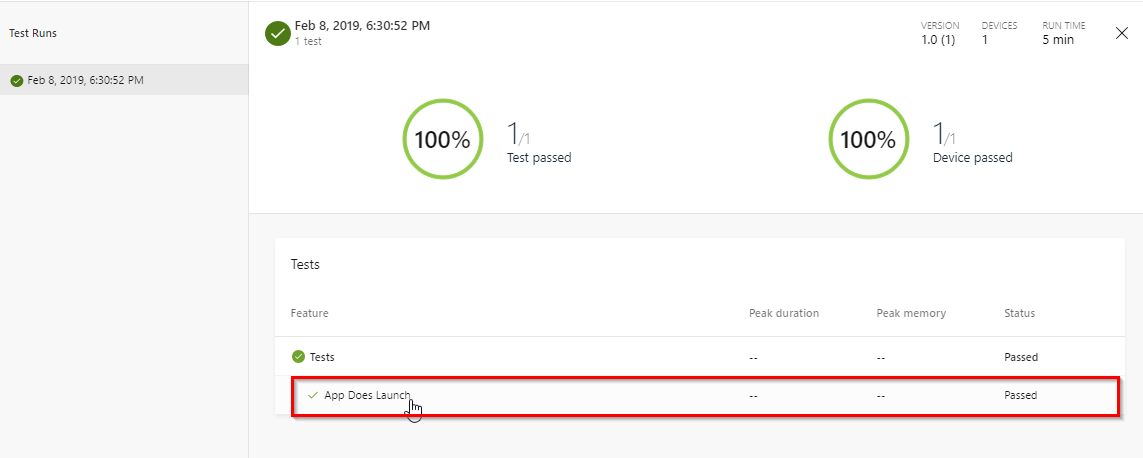
In the resulting window, you can see a screenshot showing that the application is deployed on a mobile device (It’s a real device, not an emulator) and able to launch successfully. This validates that our latest build is working.
For more information on Testing Builds on Real Devices click here.
Summary
As shown above, you can Automate the lifecycle of your iOS, Android, Windows, and macOS apps. Connect your repo and within minutes build in the cloud, test on thousands of real devices, distribute to beta testers and app stores. All in one place.